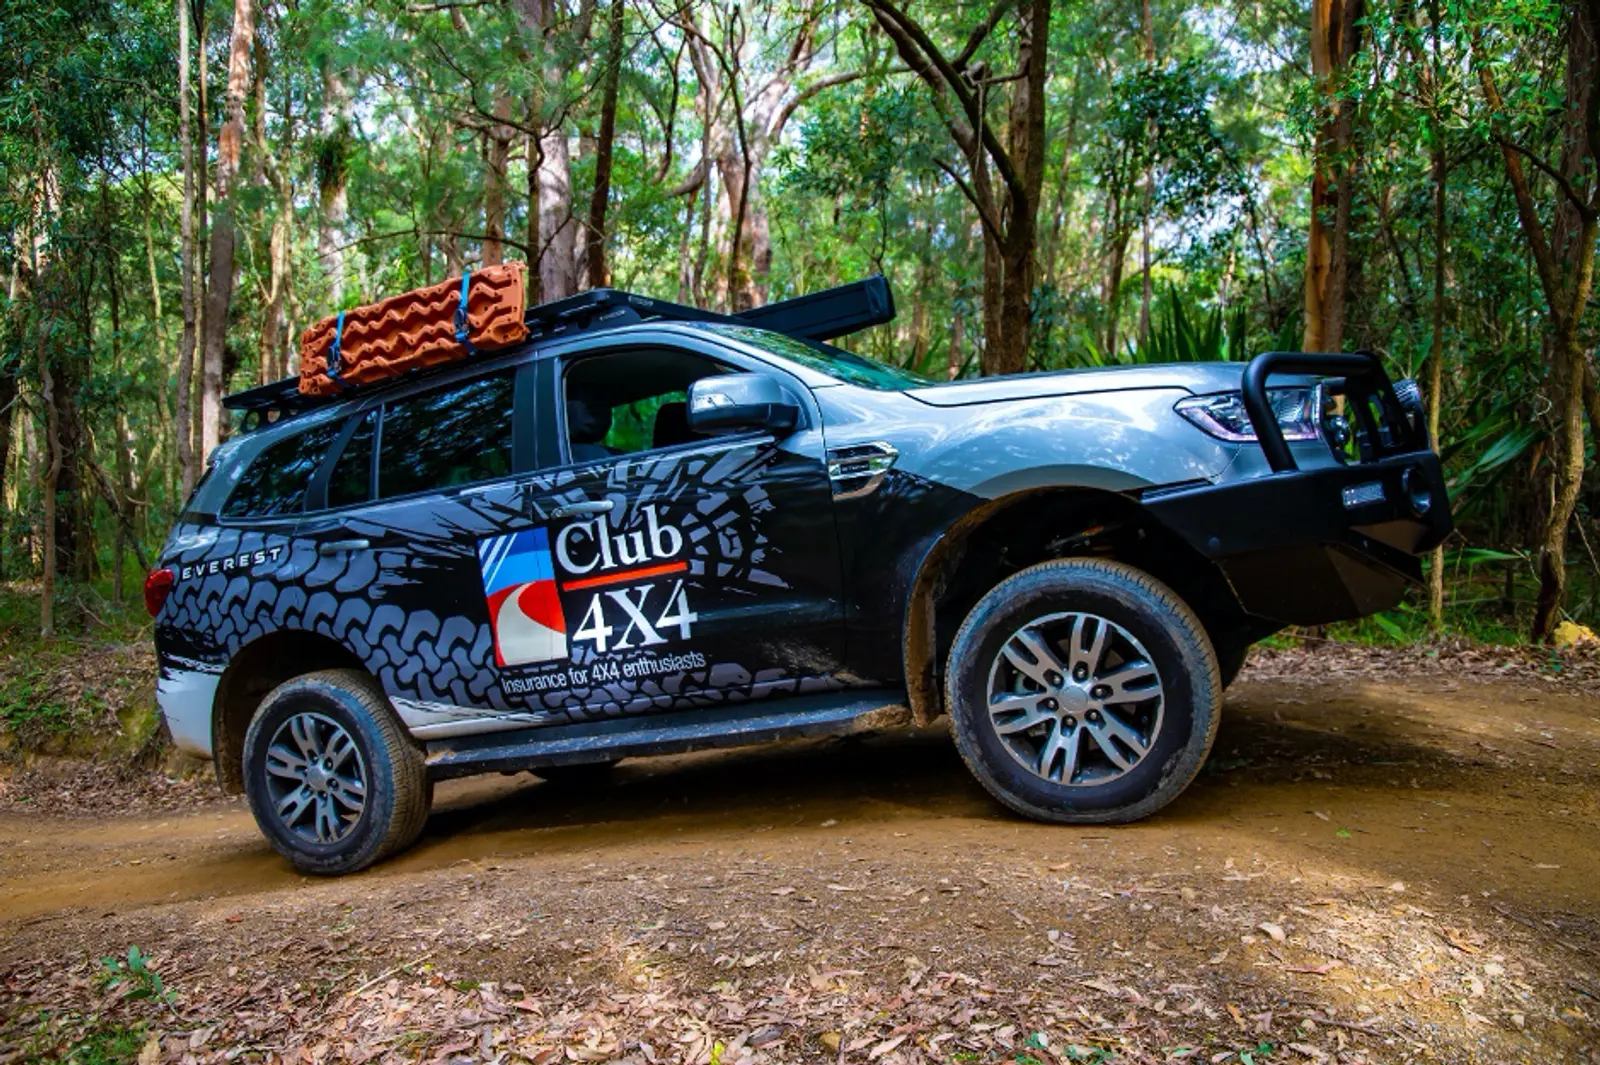
Our Ford Everest build is coming along nicely. It has now got:
- Rhino-Rack Backbone Pioneer Roof Platform
- Rhino-Rack Batwing Awning
- Tred HD GT Recovery boards
- Opposite Lock Premium Bullbar
- Bushranger REVO 10,000lb Synthetic Winch
- Ultravision Nitro 180 Driving Lights
- Oricom 5W Dual Receive UHF CB
- Dometic 45L Fridge/Freezer
- Tough Dog 2” suspension lift
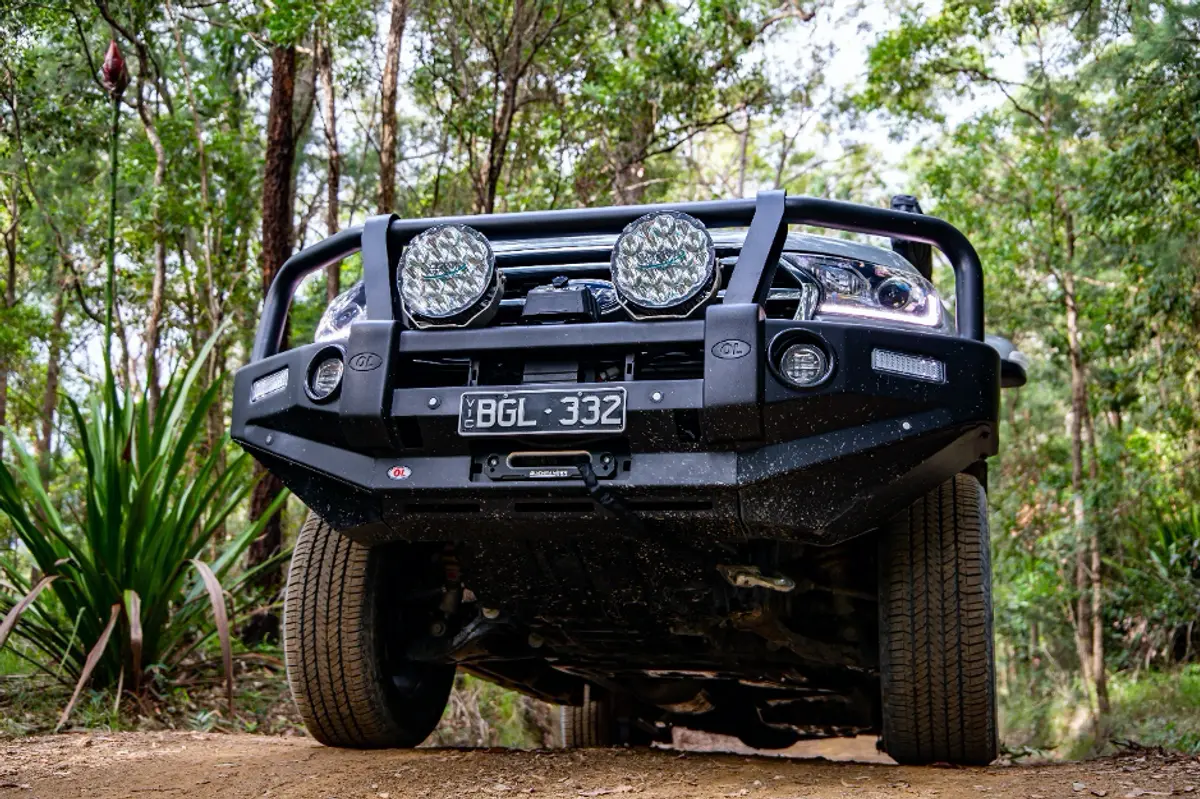
The Front end – Opposite Lock Bullbar, Bushranger Revo Winch, and Ultravision Nitro 180 Driving Lights.
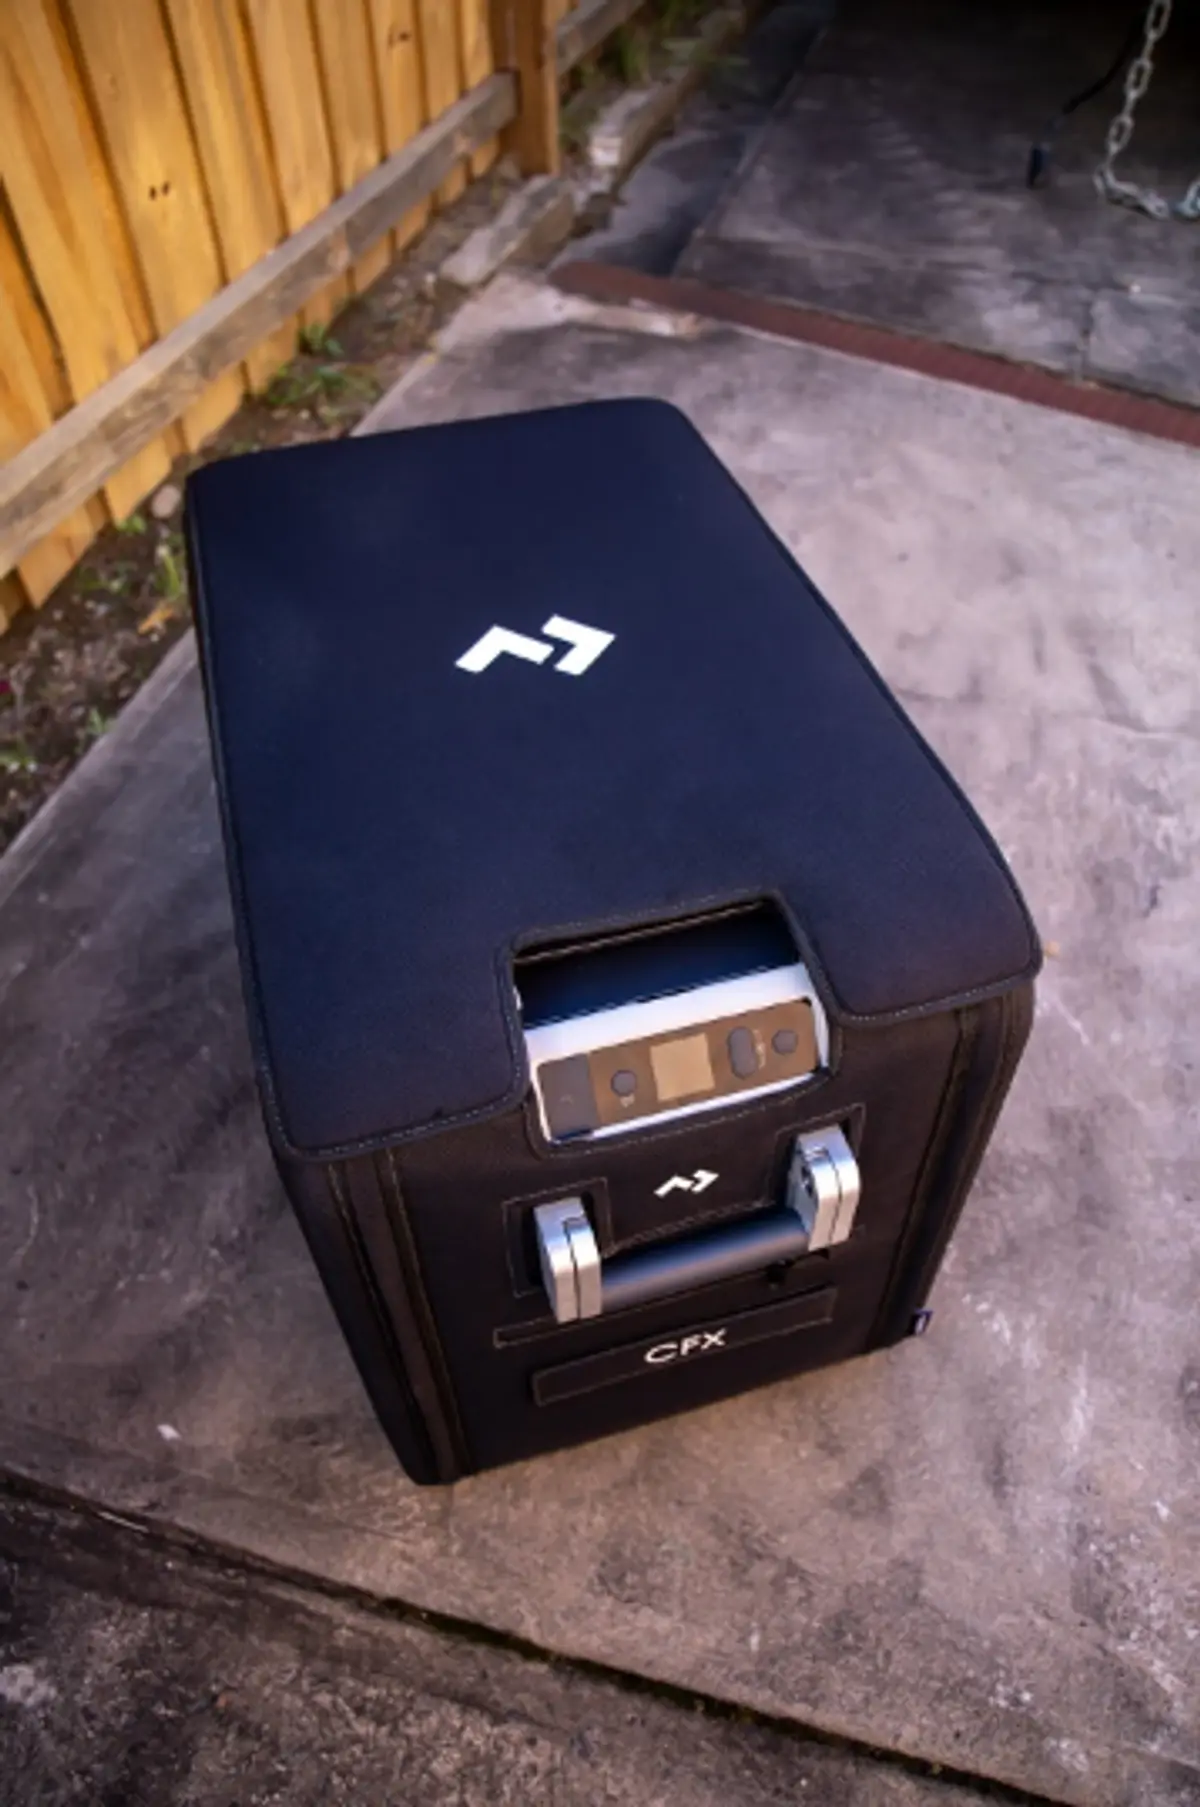
The Dometic CFX-3 45L Fridge that will live in the back of the Everest
We’re looking at test fitting wheels and tyres very soon, which will no doubt really improve the look of the vehicle (and capability off-road). I look forward to having an in depth article on how we managed this process and the legalities soon.
However, what I want to talk about this week is plans for our electrical setup. And I’d really love your thoughts and ideas on this. We’re going for a fairly simple electrical setup in the Everest:
Proposed Setup
Redarc BCDC 1240 charger
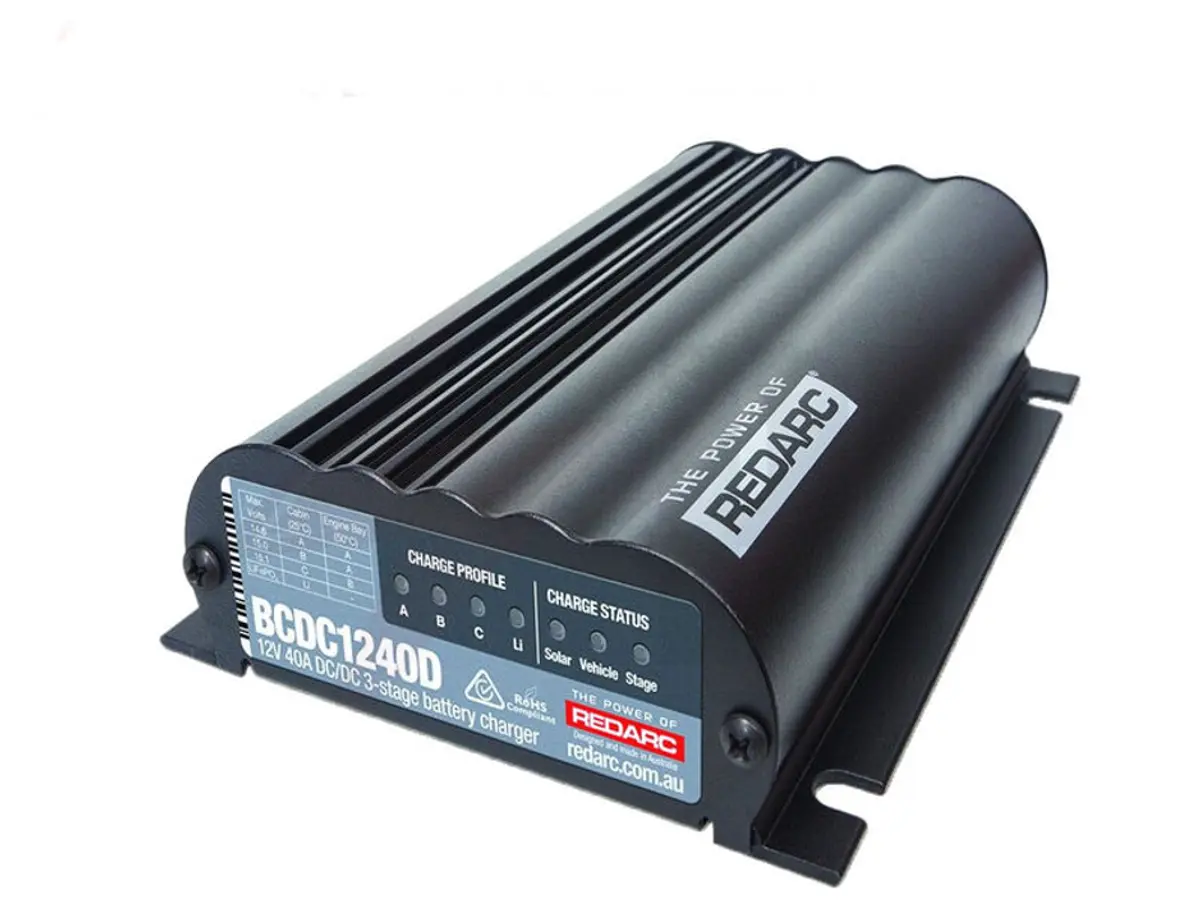
We’ve run Redarc previously, and with a 40A charging capacity, Lithium profile, and Solar inputs, this unit is compact, but perfect for our needs.
Revolution Power Lithium Battery
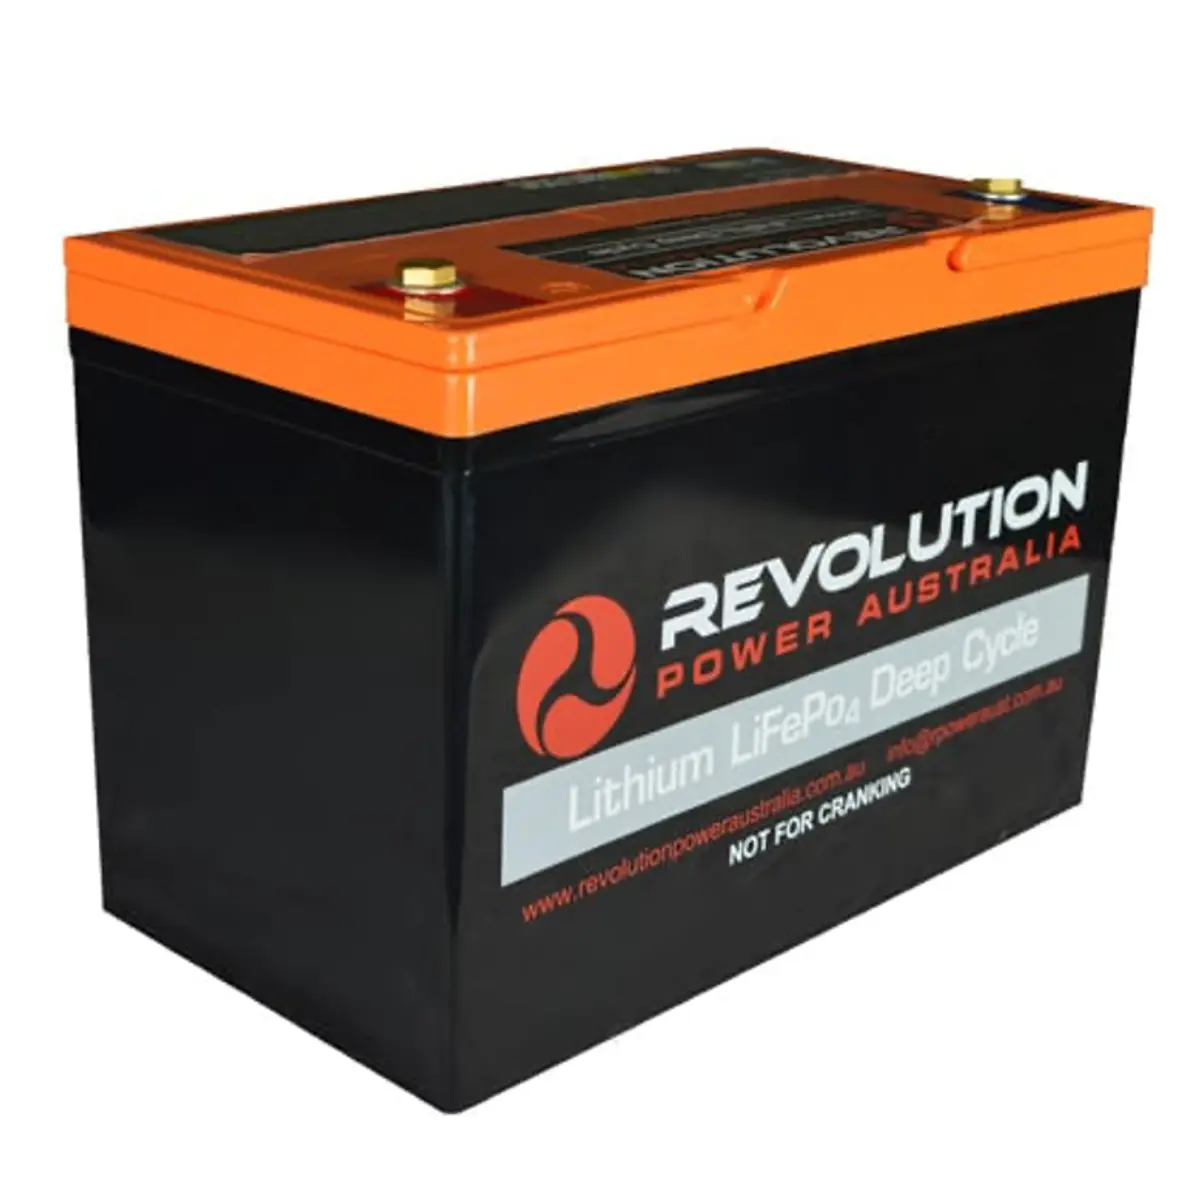
While not cheap, the Revolution 12V, 100AH Lithium battery provides a useable 100Ah, weighs in at only 12.8KG, and with a 1C rating, can handle both the power drain and charge of the full 100Ah capacity in an hour. This means that it will manage the current draw of the 1000W invertor without overheating the battery.
Redarc 1000W Pure Sinewave Invertor
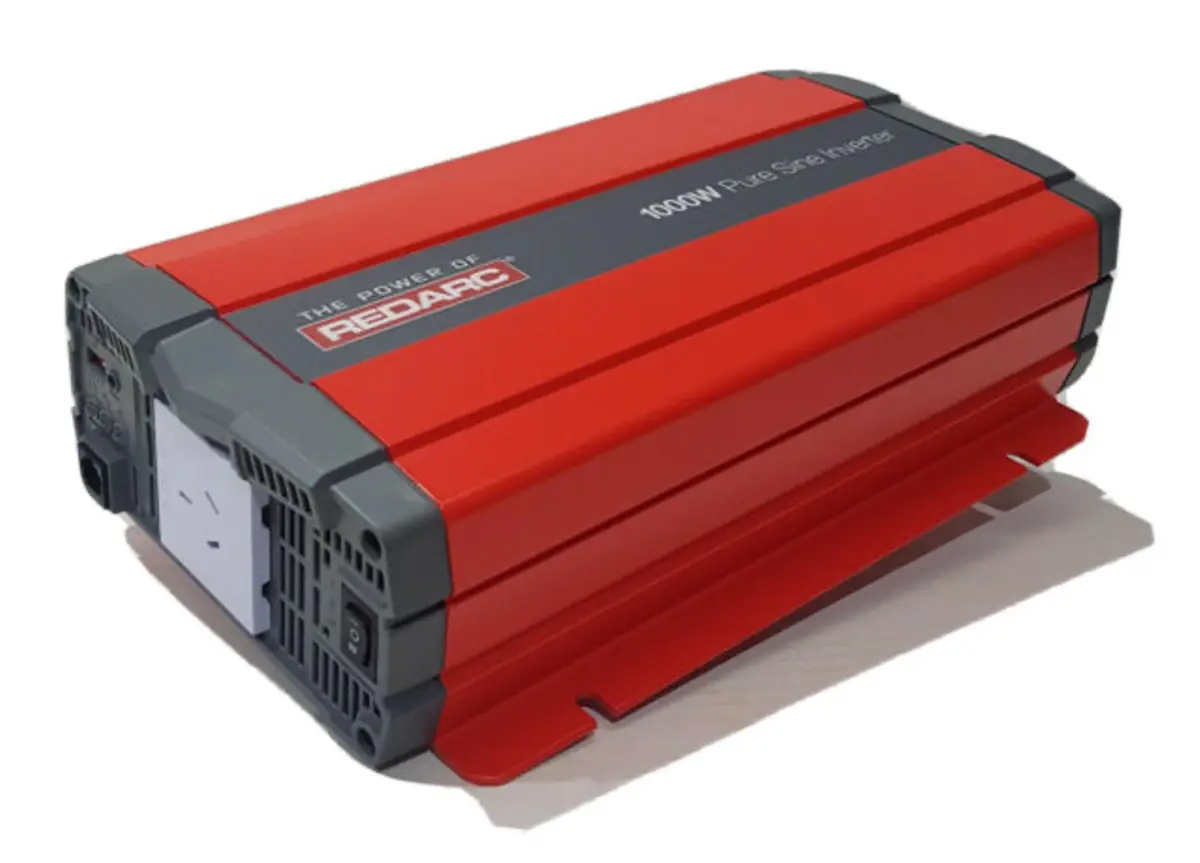
We are planning to run a Redarc 12V 1000W Invertor so that we can charge laptops, camera gear, etc, and also run things like a Sandwich press for those late night meals when on the road.
We figure that this is all we’ll need, given that we will be running the Fridge and a Cel-fi mobile repeater at times, and then potentially 240V to charge Camera batteries, laptop etc. And with 100 (useable) Ah on the Revolution Lithium battery, it is enough to run the 1000W invertor at full power.
How to Install it though?
However, the question that comes up is how/where do we install this stuff? As a work vehicle, the Everest will get plenty of time off the black stuff, but it is also a work vehicle, and at times I’ll need to load up with boxes of merchandise and stuff for Trade shows etc.
I’m tempted by the idea of installing a modular setup, perhaps with the gear mounted on a plate or in a box that I can use quarter turn screws to mount to the rear seat. I figure that if I run an Anderson Plugs either side, I can unclip and remove it if I need the space for something particular.
However, that also creates risk in that I leave the battery out and it doesn’t get maintained properly, or with connecting and disconnecting it (and how often will I actually do that? I’m aware I want my cake and to eat it too. And that might be asking too much perhaps – in a lot of cases, the KISS (Keep It Simple Stupid) principle works.
Have you tried to install your own modular 12V system? What has your experience been? Should I just permanently install and accept the slight loss of cargo space at that time? How have you done it?
I’m sure many of you have dealt with this issue, and I’d love to hear how you manage it. I’ll be sure to update you on the way we manage this, and photos of the install too!
Regards,
Aiden
Insurance Due? Get a Quote from Club 4X4