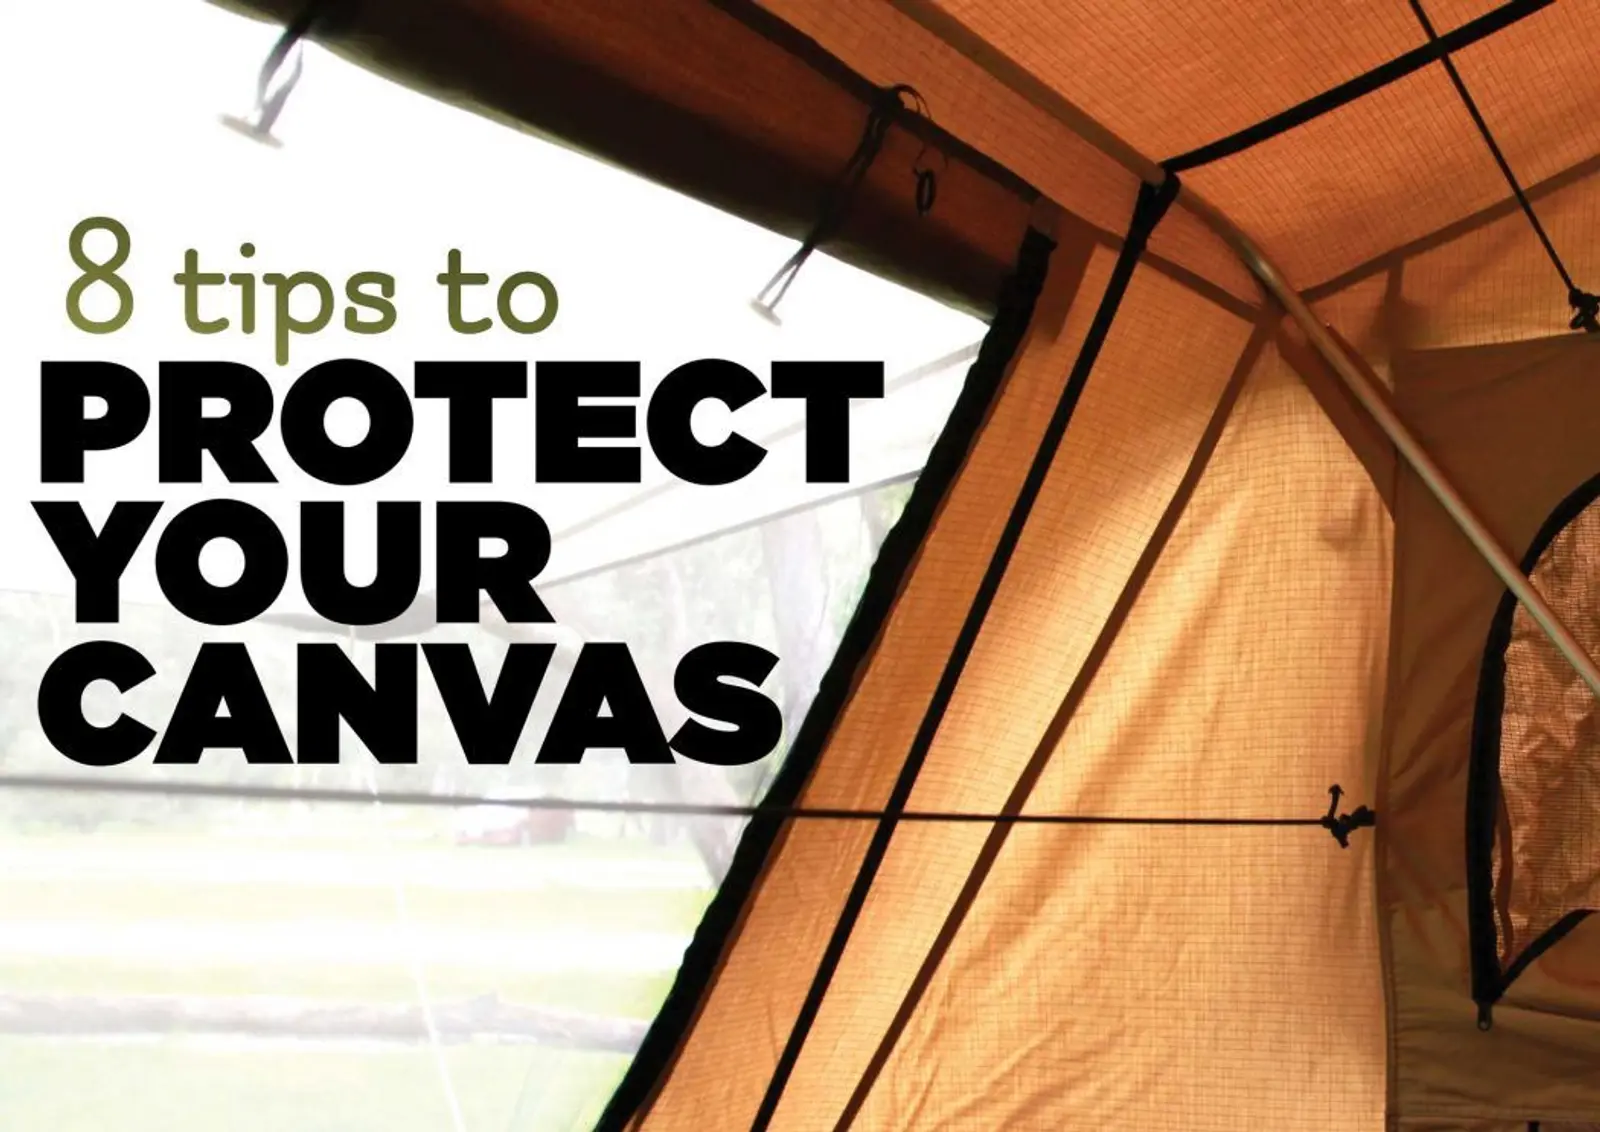
Are you rich enough to buy a new tent every trip? We aren’t, so here’s how to protect your investment… Also, can we borrow a few bucks?
Canvas is a lot like underwear; you want it fresh and mould-free. I bet if you’re reading this magazine you have at least one canvas product, maybe (probably) more. A good piece of canvas should last decades, but it will only manage that with a little bit of help from you. Following these eight steps should see your swag or tent get you through the biggest downpours, the worst dust storms, the coldest nights and the most humid evenings.
1. Weather your canvas
Before your first trip, or if it’s been a while since your canvas got wet, it’s important to give it a few soakings with a low-pressure hose or leave it out in the rain a couple of times. This will shrink the canvas, closing any needle holes and expanding the thread used to stitch it together. Don’t wait until you’re actually using the tent to first get it wet – as you may be a little disappointed in your purchase.
2. Look up before you set up
Things like sap and bird poop really don’t mix with canvas. The sap will stain the canvas and the bird poop will start to eat into the material (like it does the paint on your rig). Have a think about where you set up next time; take a look above and avoid setting up under trees. If you do get a bit of rogue poop, make sure to clean it off straight away.
3. Dry it out
This really goes without saying, but I’m going to say it anyway. Dry your tent out before storing it. Everyone hates packing up in the rain, so if you can avoid it that’s a good thing. If you can’t, then be sure to fold out your canvas product as soon as you get home (preferably in the sun) to kill any mildew that may start growing.
4. Keep it clean
Brush down your canvas at the end of your trip. This will keep the dust from getting forced into the canvas when it’s packed away; and prevent moisture absorption and the canvas being eaten away. The best way to do this is with a simple soft-bristled brush like a dustpan brush. If you need something more, then cold water without pressure can also be used. Avoid brushing the wet canvas – it will damage the waterproofing. Cleaning isn’t isolated to the canvas however; any other part of the product that comes in contact with the material also needs to be cleaned.
5. Inspect it
This is important for a couple of reasons. We want to identify any possible spots of mildew as well as identifying any small tears before they become big tears. For mildew, check around where the canvas folds or overlaps; check for damage to the canvas; check any high-tension points, around press-studs, eyelets and corners. If you do see something, getting it professionally repaired early could save you a lot of cash later.
6. Get that mildew
Mildew deserves its own point. It is canvas’ enemy number one. Besides the horrible smell, mildew is very damaging to canvas and will eventually eat through it if not attended to early. The problem is this can happen pretty quickly between trips if canvas is stored damp (or in a damp place). If you find evidence of mildew (usually a darkening of the canvas), set up your canvas product in the sun. First try to brush the mildew off with a soft-bristled brush. If that fails you may need to invoke a 50-50 mixture of cleaning vinegar and water or a purpose-made mildew remover. Again, avoid scrubbing while the canvas is wet as this will degrade the water-repellent properties. On that note…
7. Reproofing
After canvas is cleaned a few times, or even just after a year or two, its water repellent properties will degrade. This will be evident by wet patches of canvas after rain; and it will loose that smooth waxy feel. It’s best to consult the manufacturer of the canvas to see if they have a recommended product to reproof, but something like the Dynaproof Canvas Reproofer will do the job in most cases. It’s as simple as brushing or spraying it onto clean canvas.
8. Storage
Think about where you pack your gear away. Is it on the ground? Is it in the sun? Is there evidence of rodents? Being on the ground leaves it susceptible to dust and dirt; in the sun will cause UV degradation; and there is nothing that rodents like more than a bit of canvas. If you can, store your product high up on a shelf. In the case of a camper trailer or rooftop tent, make sure the cover is on. Never store your product under a poly tarp; poly tarps don’t breathe and moisture will become caught in your canvas. This article was originally posted by Unsealed 4×4.