Article from RVDaily.
It doesn’t get much more satisfying than a plate full of cheesy nachos, right? Well, it’s about to get even better with this campfire nachos recipe.
That’s right! You can cook this scrumptious comfort food really easily on the campfire in a cast-iron skillet with a lid. Ready to tuck in? Here’s what you need to make campfire nachos.
Ingredients for campfire nachos
- Large packet of corn chips
- Jar of nacho sauce
- Can of black beans
- 2 handfulls of chopped spring onion
- Shredded chicken (or whatever meat you want to use. If you choose mince, you’ll need to brown to first)
- 1 chopped avocado
- Packet of grated Mexican blend cheese (regular grated cheese will work as well)
- Spray oil (or a tiny amount of normal oil)
Method
Step one
Grab your cast iron skillet and spray a little oil in the bottom to prevent your corn chips from sticking. Go ahead and layer your corn chips on the bottom. Now layer everything else on top, but not all at once (you’re going to make a second layer of the same ingredients). So on top of your corn chips, you want to add:
- Half of your black beans
- A handfull of chopped spring onion
- Half a jar of nacho sauce
- A handful or two of your shredded chicken
- Half of your chopped avocado
- A big handful or two of grated cheese
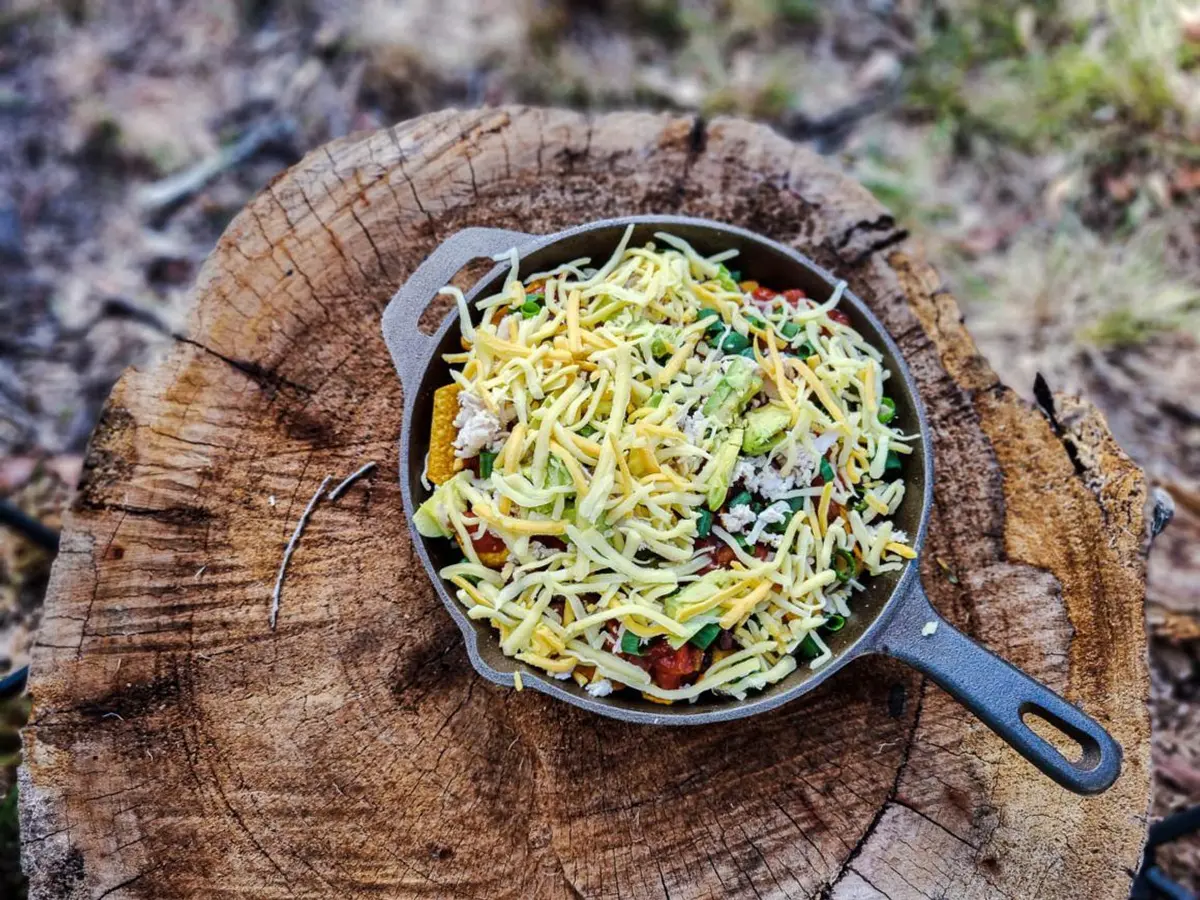
It’s going to look a little like this.
campfire nachos
THE FIRST LAYER OF CAMPFIRE NACHOS IN THE CAST IRON SKILLET. IT LOOKS YUM ALREADY!
PHOTO – JESSICA PALMER
Step two
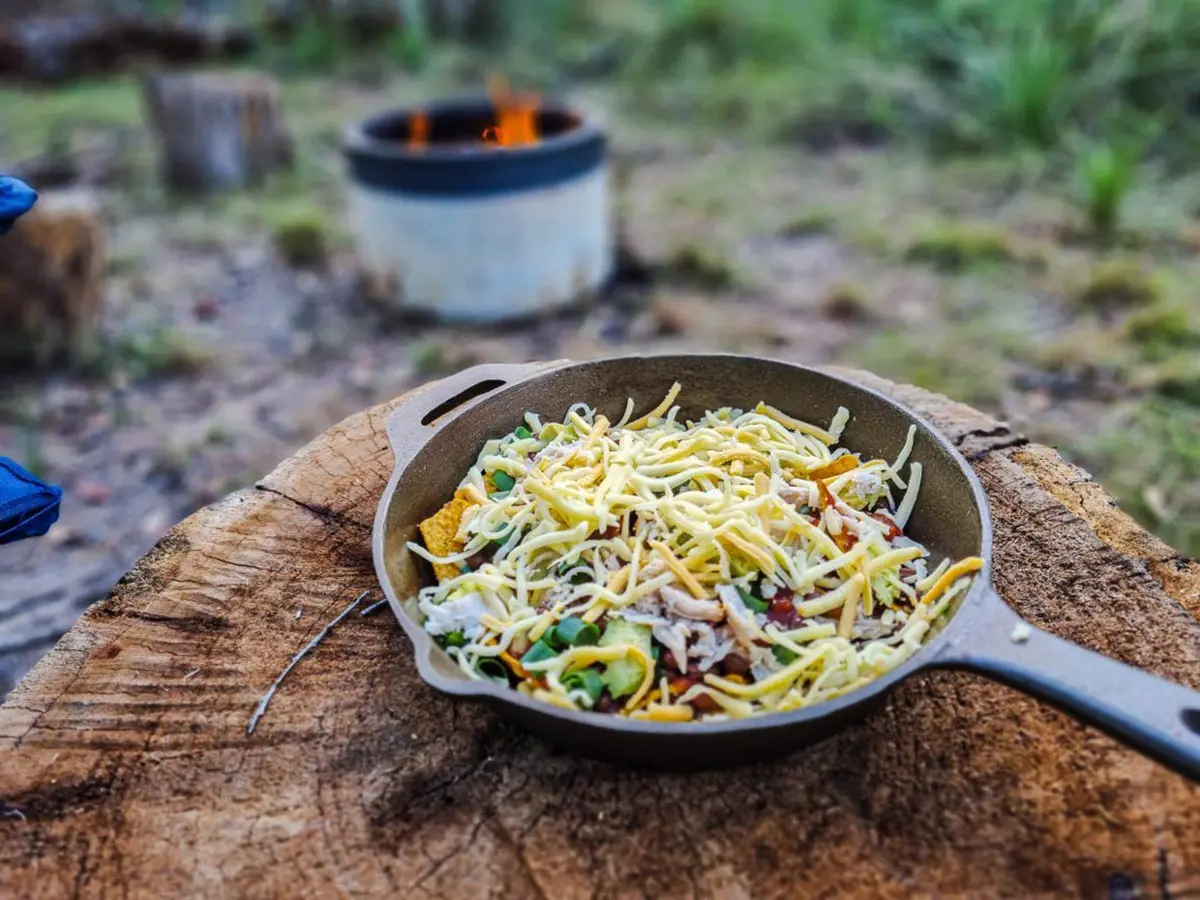
Now, go ahead and do this again for your second layer. Start with the nacho layer and build from there. By now your skillet is probably full of nacho goodness and will probably look like this.
campfire nachos
THE SECOND LAYER OF EASY CHEESY CAMPFIRE NACHOS …. YUUUMMMM!
PHOTO – JESSICA PALMER
Step three
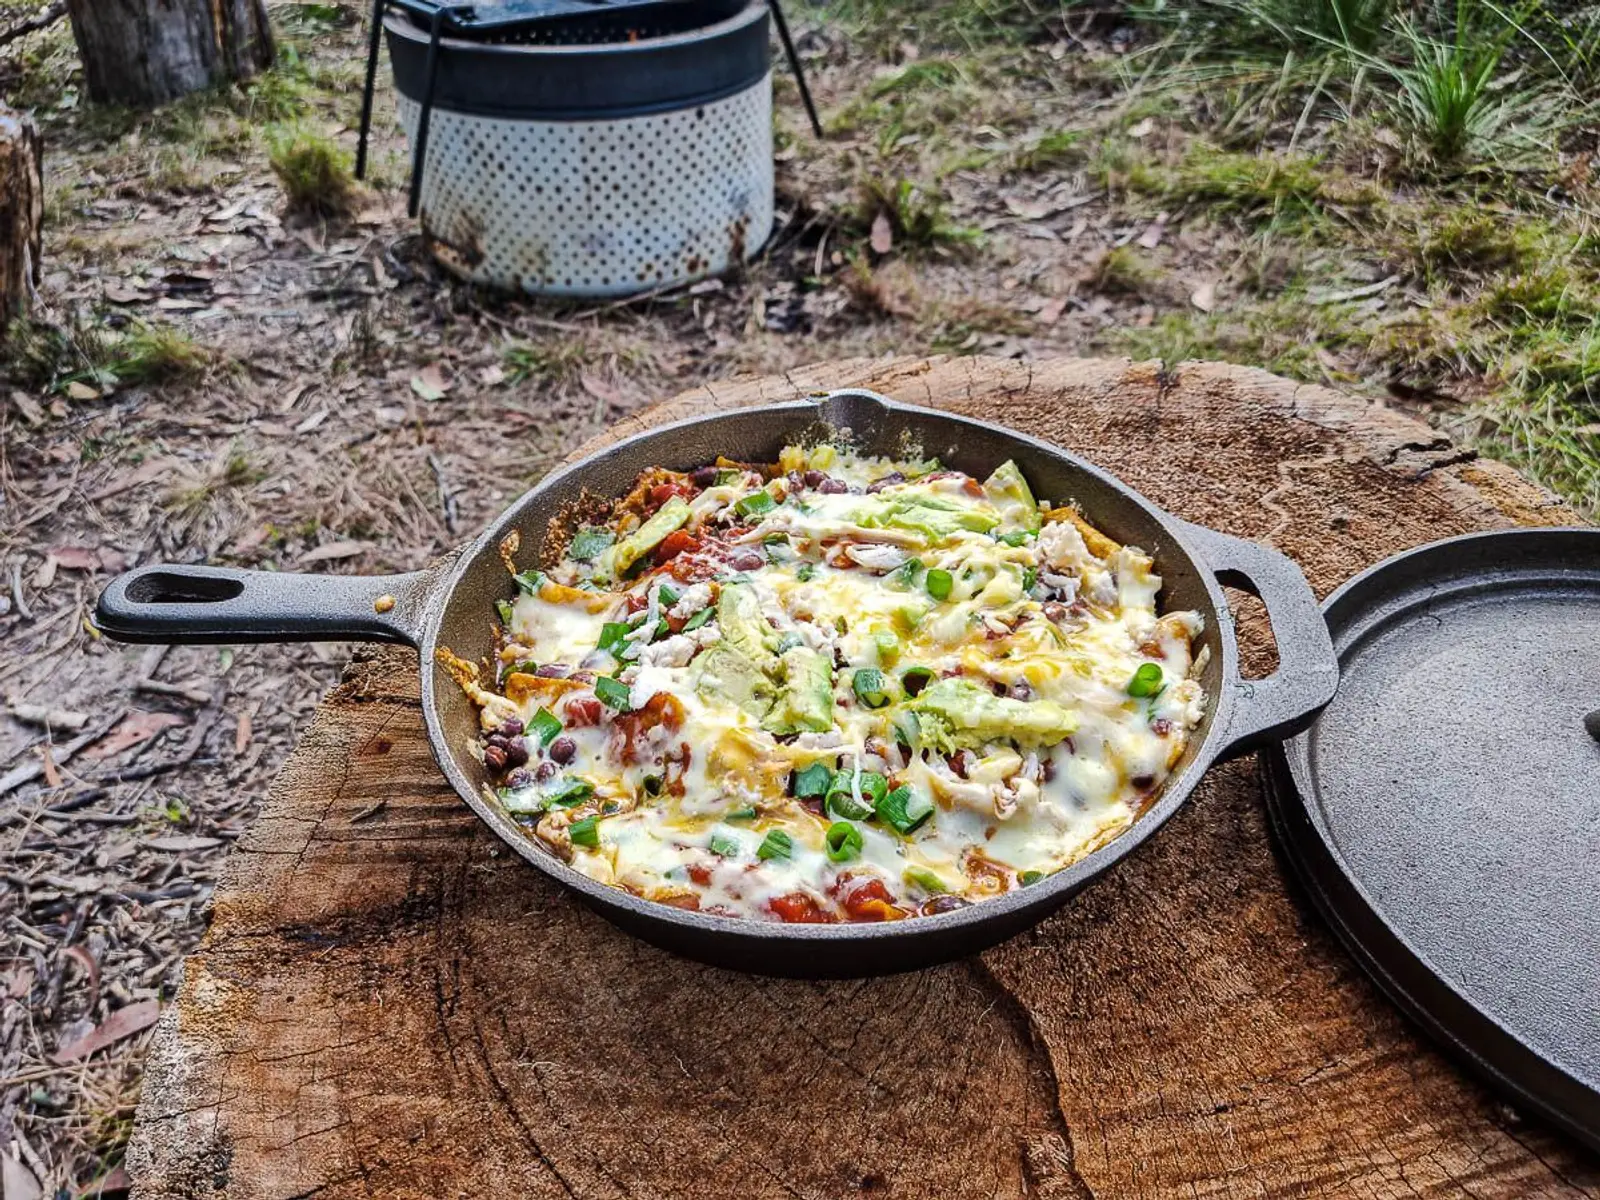
Put the lid on your cast iron skillet and place it on top of your campfire to cook for around 10 to 15 minutes. Don’t worry if you don’t have a lid for your skillet, you can cover it with aluminium foil.
Once the cheese has melted, it’s time to take the skillet off the fire. Your nachos are ready!
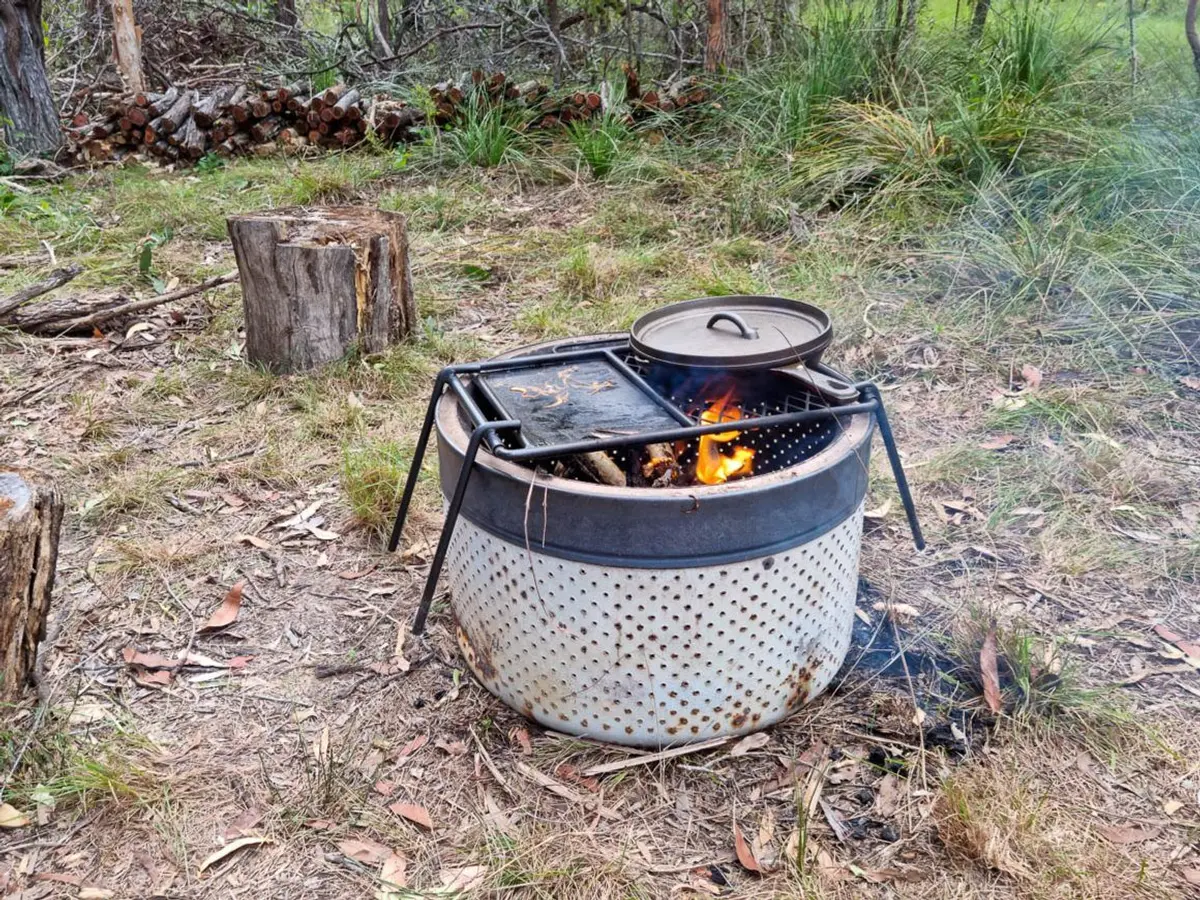
NACHOS COOKING ON THE WASHING MACHINE DRUM FIRE PIT!
PHOTO – JESSICA PALMER
Warning…
Campfire nachos attract familiar critters to your campsite. You can see in the photo below that as soon the lid was off the cheesy nachos, the kids mysteriously appeared and began eyeing off my cheesy creation. My husband showed up about two minutes later. Lucky I made heaps!
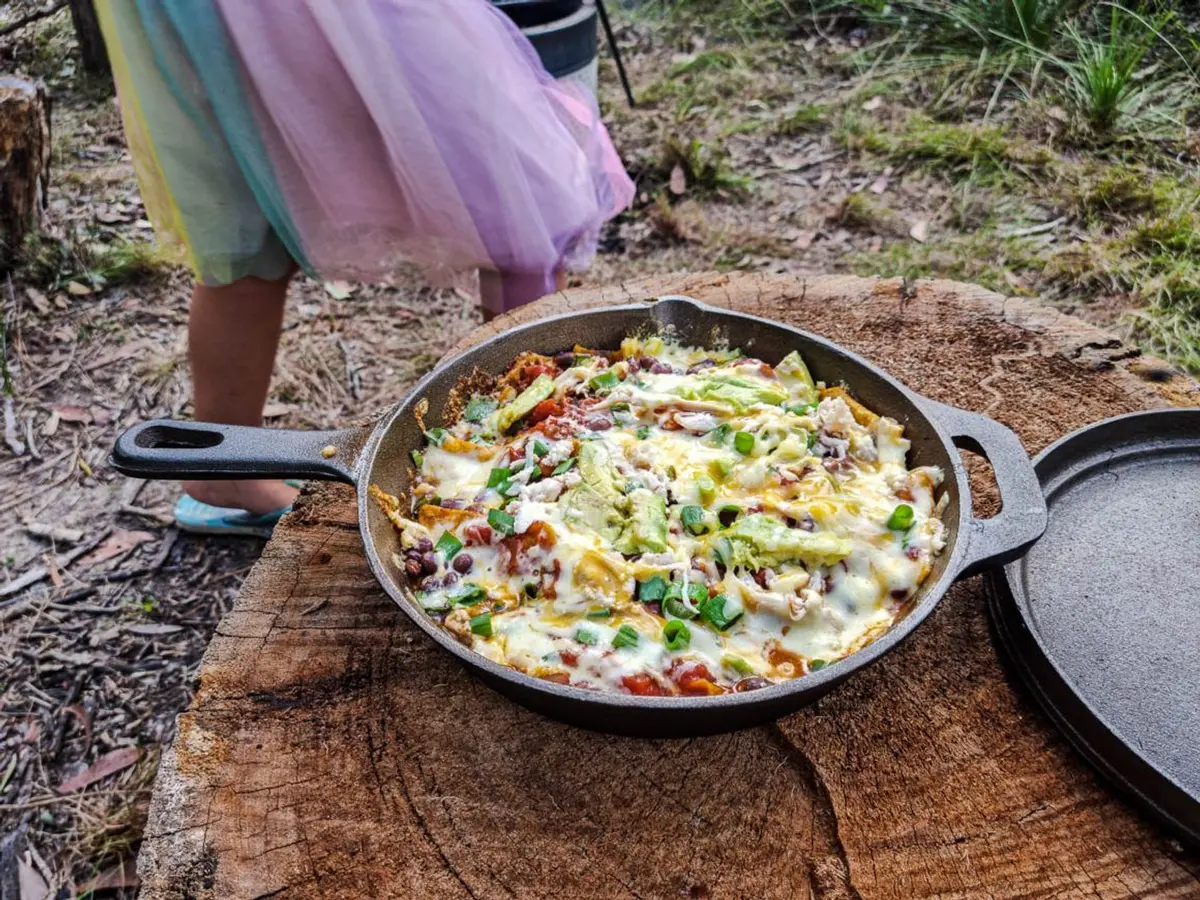
campfire nachos
THE CRITTERS SHOWED UP AS SOON AS THE LID CAME OFF REVEALING THE CHEESY GOODNESS
PHOTO – JESSICA PALMER
Tips for making campfire nachos
- If you want to give yourself an easy clean up job, line your skillet with aluminium foil.
- Don’t use all your corn chips in the campfire nachos. Why? If you leave it cooking a little too long, the ones on the bottom of the pot can get too soggy to grab. You will want to save some extras to use as a scoop.
Why a cast iron skillet?
Cast iron is the undisputed king of all cookware. For me, the only downside is the weight, but as long as I’m not hiking, this really isn’t a problem as my car does all the heavy carrying.
Cast iron is super sturdy and will last a lifetime if you look after it properly. It also seems to spread the heat more evenly and is super versatile; you can fry, bake, sear and saute with the same skillet or pot. My favourite part? It’s really easy to clean.
If you don’t have any cast iron cookware yet, check out this set from Outback Equipment.