


So far, the Everest has been a real surprise package. Amazingly comfortable to drive, practical, and a real surprise in terms of off-road capability. Unfortunately it isn’t setup for taking a second battery, which I’ve wanted for some time to run a fridge etc. A little while back, I wrote about the Everest Electrical install and the challenge of making it practical for the family. (Check that article out here).
The question remains – did I get everything I want? I think so in the end! Let me run you through the setup and what I’ve done and why.
The Setup
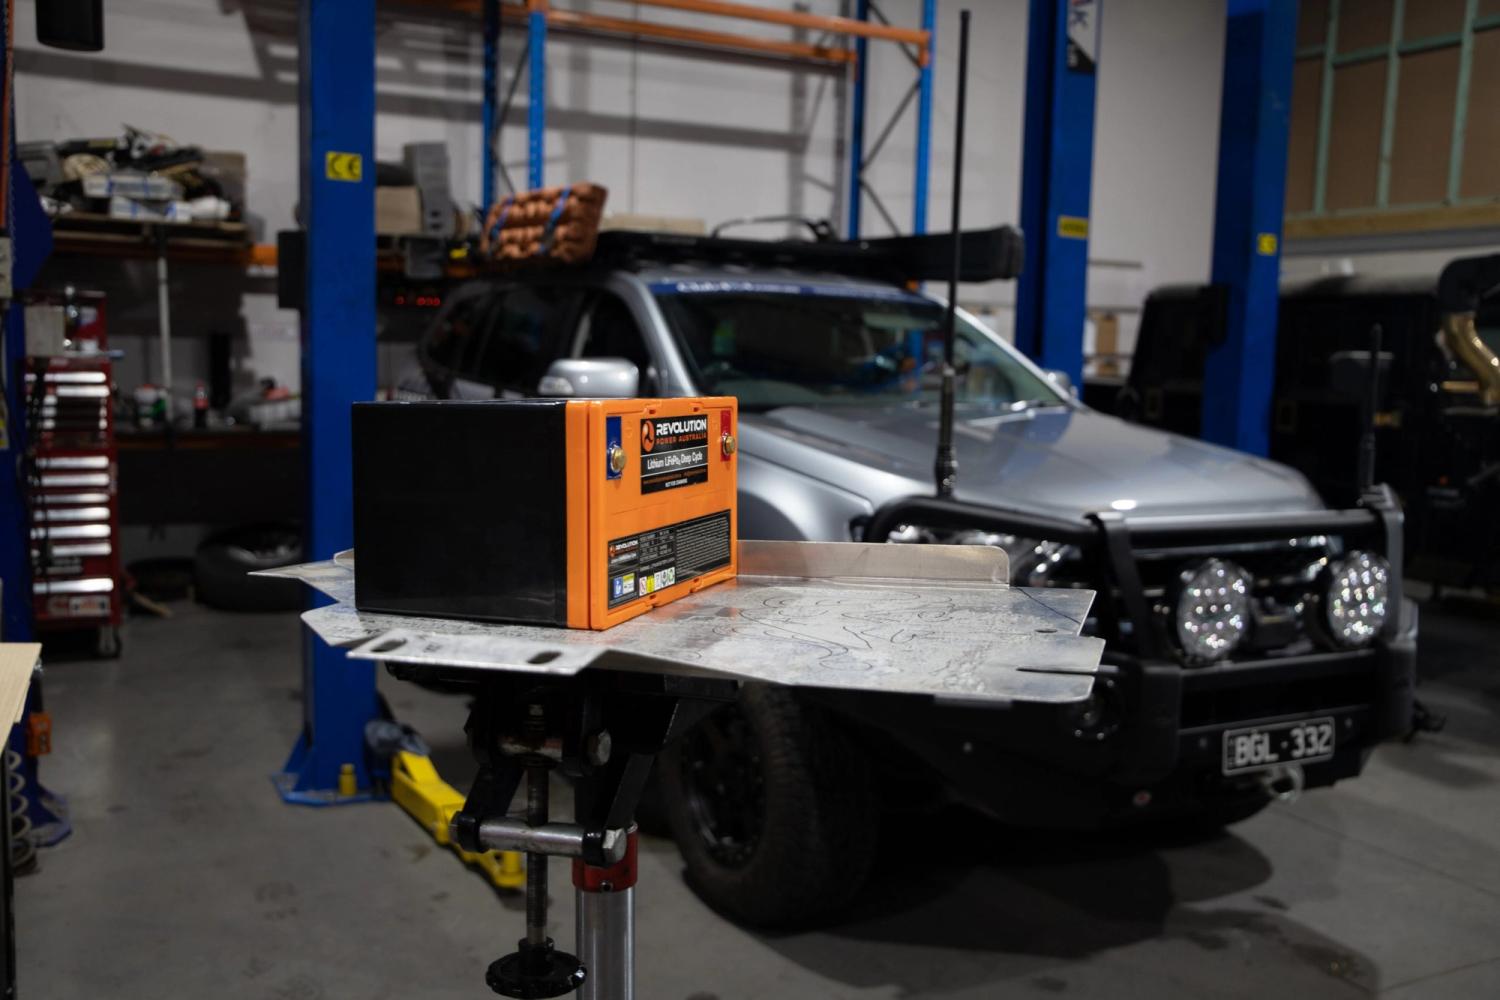
I decided to run with a 100AH Lithium Battery. Yes, they are expensive, but given the life expectancy of the battery, and the significant weight saving, it was well worth the investment. I chose a Revolution batteries 100AH useable battery (check this with a potential provider – some apparently sell 100AH ‘capacity’, but you can only use a portion of that) . This thing is actually rated to 2C, which means it can safely charge and discharge at double its full capacity in 1 hour (important for high draw appliances, and beware some Lithium batteries can only charge/discharge at 50% of their rated capacity in an hour). For more information on Lithium batteries check this article out.

Revolution Power 100AH useable high draw Battery
Paired to the Lithium battery, Redarc recommended their 1240D BCDC Charger. This can take solar inputs, and will charge at a rate of 40A per hour. It also has the required charging profile to support Lithium batteries (critical in this setup!) I felt that this was a strong charge rate, without pushing the battery too hard, and it also means that I can charge the battery in 2.5 hours of driving from flat. I also wanted to keep the setup simple!

Redarc 1240D BCDC Charger. Aussie Made too!
I also had a Redarc 1000W Invertor installed, to make sure I can charge camera and other equipment on the go. This provides more than enough 240V power for everything I could need. However, at 1000W of power, this will draw roughly 100A of power every hour when used at its capacity. This is why I needed a minimum of a 1C 100AH Lithium battery to run it. Otherwise I risk damaging the battery by drawing too much current too fast for the battery to handle, which over time will kill a battery.

The 1000W Invertor has been mounted under the front passenger seat, with power outlets run to the rear of the vehicle for easy access.

The 240V outlets have been installed in the recess at the back left side of the vehicle. Don’t forget to get an electrician certify any 240V work in your vehicle…
You may have heard, but Lithium batteries hold their voltage much longer under load than traditional batteries which makes understanding their status of charge a little more complicated. I don’t particularly like to clutter the dash if I can avoid it, so I also had a Victron Smart Shunt installed with the system. This piece of kit is awesome – it is a Bluetooth enabled device which records and tracks the status of the battery. It pairs to your phone via an app and can tell you all sorts of fascinating information about the status of charge, how many cycles your battery has competed, how many days of useage you’ve got left and more.

The Victron Smart Shunt, which pairs with your phone via Bluetooth and the Victron Smart Connect App
Finally, I’m running a 40L Dometic CFX-3 Fridge off the system, pretty much 24/7. (see my review here)

the 45L is just the right size – big enough for up to 4 days away without taking up too much room!
The install
I previously asked about whether it is possible to have a modular system where I can take the battery and charger out if required to carry equipment to shows etc, which is something I feel is becoming more and more important to people because we expect our vehicles these days to be everything from tradie truck to family wagon, transport van, and off-roader all in one.
When I spoke with Steve Etcell from AE-Co 4X4, he suggested we get the vehicle on a hoist and have a look around because he’s not the kind of guy who likes to be adding and removing things from your setup all the time. We knew we couldn’t put the battery in the engine bay (even if we had room), and so it was looking like it would sit behind the second row seats because we didn’t want to remove the third row seats and have to get the vehicle certified and re-registered.
Upon inspecting the vehicle, Steve suggested we could possible fit the battery under the vehicle. Awesome! He quickly set about fabricating a custom plate – I left the vehicle with him for a day or two and he fabricated a template for the plate, carefully matching it with the space under the vehicle the Lithium battery could fit, and then ensuring the mounting points aligned with existing holes / threaded holes in the chassis.

AE-Co 4X4 making the template for the plate. The battery sits on its side underneath the vehicle.
Once the template was complete, he measured it and then did some fancy stuff with a design program, and next thing you know a machine in his workshop was laser cutting my new plate from steel.
From there, his team started running the cables from the engine bay to the interior of the vehicle and the spot underneath the vehicle where the plate would be installed. He also ran cabling up under the front passenger seat where we installed the Redarc Invertor, as well as cabling and a power outlet to the back of the vehicle (Note: any 240V work in your vehicle needs to be certified by an Electrician).

Given the need to head on a trip the next day, the team initially installed the charger under the vehicle, but this has since been moved to underneath the second row seats.

The Bluetooth shunt and BCDC Charger were initially mounted with the battery due to the fact that we were on a deadline to get the system working for a trip. However, I’ve since had the BCDC charger moved into the vehicle, and the solar input run to a second Anderson Plug at the rear of the vehicle. (A Big thanks to the team at Cooranbong Auto Electrical who jumped in to help out when Steve and the team at AE-Co got so booked out they simply couldn’t fit us in as quickly as we needed).
I’m really really happy with the install – despite a number of river crossings, I’ve not had any issues with the system at any point. The plate offers additional protection to the underbody, although it has complicated the install of additional underbody protection, and I think I’ll need some further modifications to shrink the plate a little so I can fit the additional aftermarket protection.
The exhaust is also located not too far from the battery, which meant that we had to fit an exhaust wrap, as well as some heat shielding to prevent the battery getting too hot.
Verdict
I’ve done a number of trips with the setup, with no issues off-road or otherwise. I’ve found the 100AH useable capacity is perfect for me – over the break I went camping with the family and ran the vehicle for 4 days without running out of power, and without charging the battery in any way. And this was with 40 Degree days where we camped by the Allyn River. The lowest I’ve drained the battery is about 75 AH so far.
This setup also means that I haven’t taken up any cargo space with batteries or chargers. In my line of work, where we do lots of shows, and move things around a lot, it has kept packing and unpacking the car so easy as I don’t have to pack around something, and I haven’t lost any room in the setup. Perfect for long trips to places like the Brisbane Show!
What are your thoughts? Is there anything additional you’d like to know?
Aiden