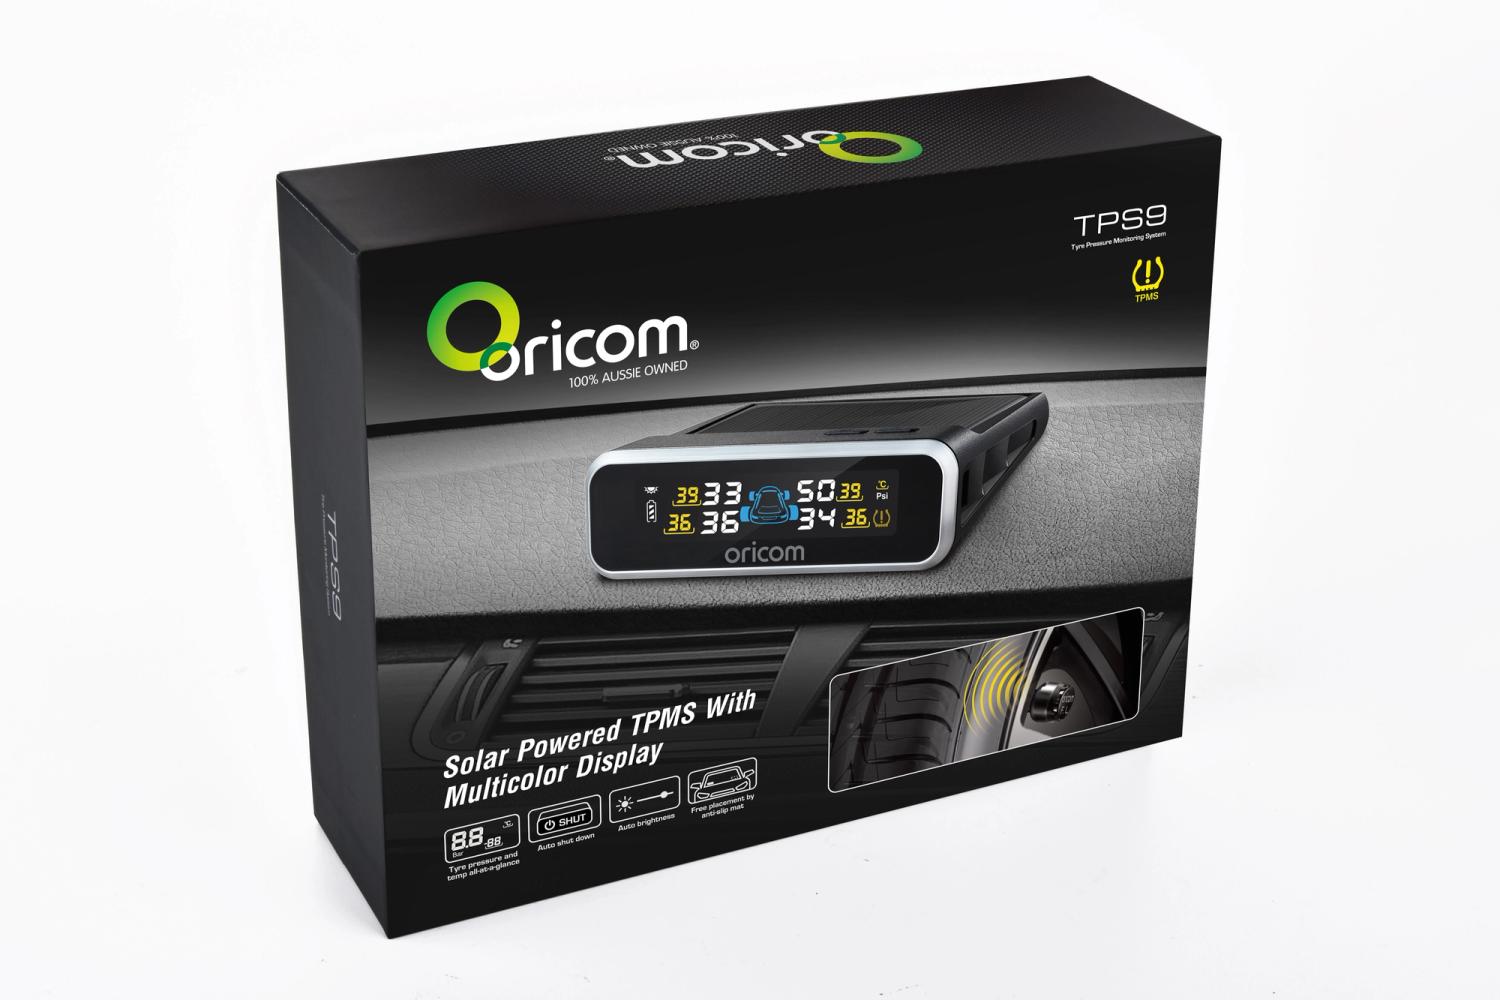
Oricom recently sent me one of their new Tyre Pressure Management Systems (TPMS) to review. I wasn’t sure what to expect at first given I’m really happy with the TyreDog TPMS that we sell in our Safety Shop. I have to say that when the pack arrived, I was surprised and I’ll explain why in a minute.
What’s in the box?
I tested the TPS9, which is the external system. There is also a TPS9I, which has sensors which mount internally on your tyre/wheel package.
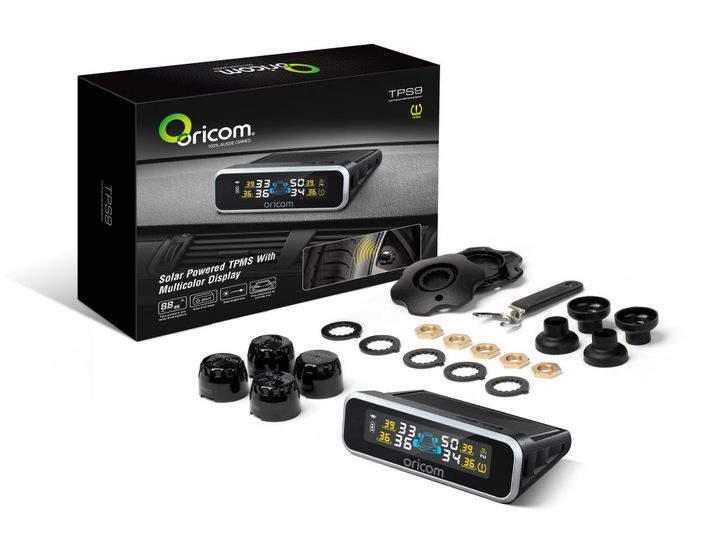
The box and what comes in it…
When you open the box, inside you’ll find:
- Instruction Manual
- 1x display unit,
- 1x anti-slip mat
- 4x sensors (clearly marked FL, FR, RL, RR),
- 4x locking nuts
- 4x dust covers
- A locking nut tool; and
- A sensor tightening tool
First Impressions
I got two surprises when I opened the unit. The first was at how compact the display unit is, and the second was that there are no cables for the display unit. I was expecting to have to give up a lot more real estate for the head unit, and to have to start managing cables upon the install, which was unnecessary, and a big bonus in my book.
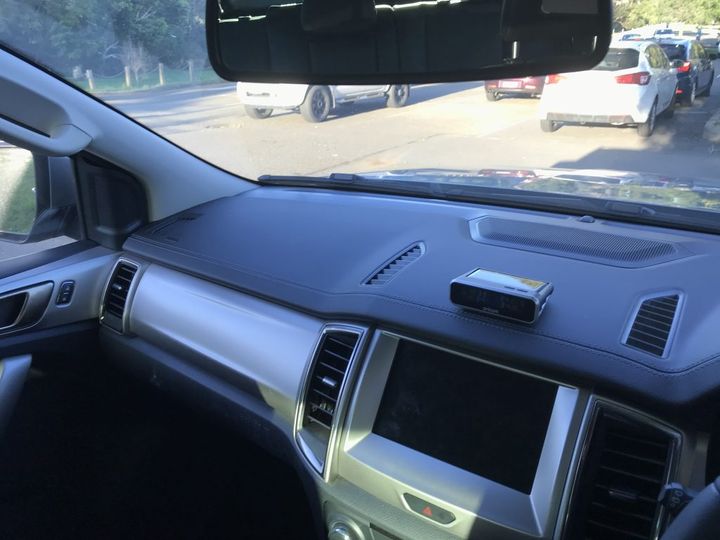
The unit is very compact and requires no cables
You can see how small the unit actually is. I installed in the centre of the dash, where there is no impedance on the visibility outside the car. The display is bright enough that it can easily be seen even when pointed straight towards the back of the car, so it doesn’t need to be angled towards the driver.
Installation
Install was super easy:
- Remove anti-slip mat from packaging, and place onto surface where you want the display unit to sit.
- Place display unit on top of the anti-slip mat.
- Remove all valve caps from tyres
- Place dust cover over valve stem, screw down the locking nut, then screw on sensor. Use locking nut tool to lock the nut against the sensor once it is tightened.
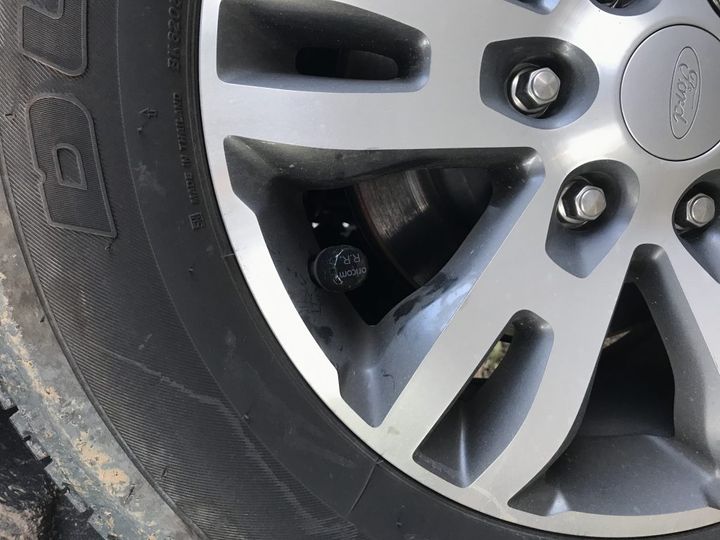
The sensors are not too bulky, and are individually marked for the tire they need to be placed on.
Operation
The Oricom unit operates automatically. According to the manual, it activates after wheels move at over 25km/h, although in practice I’ve found it is lower than this speed. It also has some interesting settings you can change (and the process to do so is super easy):
- Pressure unit
- Temperature
- High temperature warning
- High pressure warning
- Low pressure warning
This is great because you get to choose when you want the unit to tell you there is a problem.
I found the sensors were all calibrated to the same pressure, which I see as a positive. In other units I’ve used, you can fill a tyre to the same pressure at an automated service station air hose, and then have a slightly different pressure read at each tyre, which plays with your OCD!
Practicality
The unit is very practical. I love the wire free nature of the head unit, and its compact size because it leaves me plenty of space for other gadgets and doesn’t clog up the dash. As far as the sensors go, while the dust covers and locking nuts are a good idea, in all honesty, I can see them ‘disappearing’ in the future because they don’t prevent you from removing the sensor, and they kind of get in the way when you want to air up or down. The good news is that the units screw on without the locking nut, so I don’t think that this is a deal breaker, and it is certainly not unique to this product.
As soon as I aired the tyres down (done on the external version by unscrewing the sensor, deflating tyre, and then replacing sensor), the display unit had already registered the pressure change. And because I deliberately set the pressure below the minimum I had set earlier, the unit flashed and beeped straight away, until I had re-inflated the tyres. Brilliant in how quick it registered, and also that I can easily set the alarm parameters to suit my needs.
Verdict
TPMS’s have been proven to help prevent blowouts, increase safety, and extend tire life. The Oricom TPS9 is a very neat and practical unit that has worked to date at least as well as other units I’ve used. The simplicity is much better, and the aesthetics are great because there are no cables and the unit is nice and compact. My only gripe so far is that the display turns a bit of a strange colour after being left in a hot car, but so far this doesn’t affect performance.
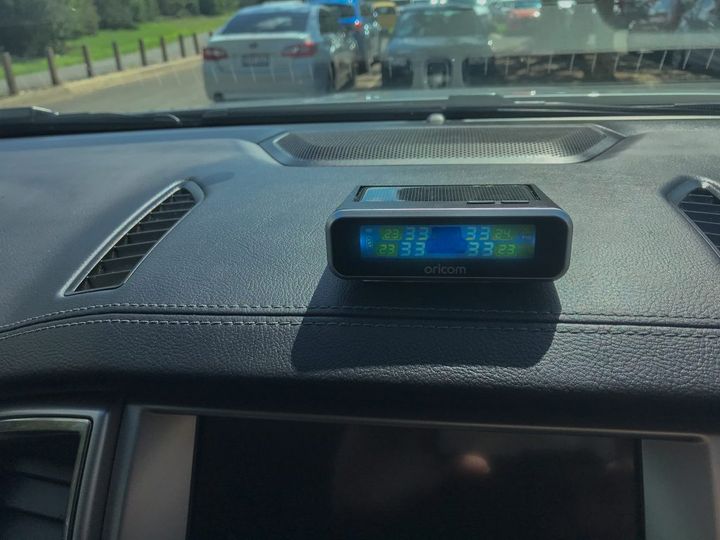
On a hot day, the display goes a slightly funny colour in the heat, but it is still easily readable, and so far this has had no effect on the operation of the unit.
I would really have liked it if the kit had a 5th sensor for at least 1x spare wheel, but it really isn’t critical. And I’m sure that those that tow would love one with 6 or 8 sensors to track what they tow. I’m unsure if one is in the works, but I’m reckon it would be popular…
The external kit is the easiest to fit, but if you are regularly heading off-road, the internal kit would be easier to use because you don’t have the risk of the sensor being stolen off the vehicle, or to have to remove it to air up or down.
So far it is a welcome addition to my vehicle. I look forward to reporting back later on to confirm that it continues to operate reliably on the number of trips I’ve got coming up.
Product details
Product: Oricom TPS 9
RRP:
External model: $249.00
Internal Model: $279.00
Warranty: 12 Months
Claimed Battery Life:
External sensors: 2 years (batteries are user replaceable)
Internal Sensors: 5 Years
Have you used the kit? What do you think? Would you like to see this in the Safety Shop? Let us know!
Aiden


