
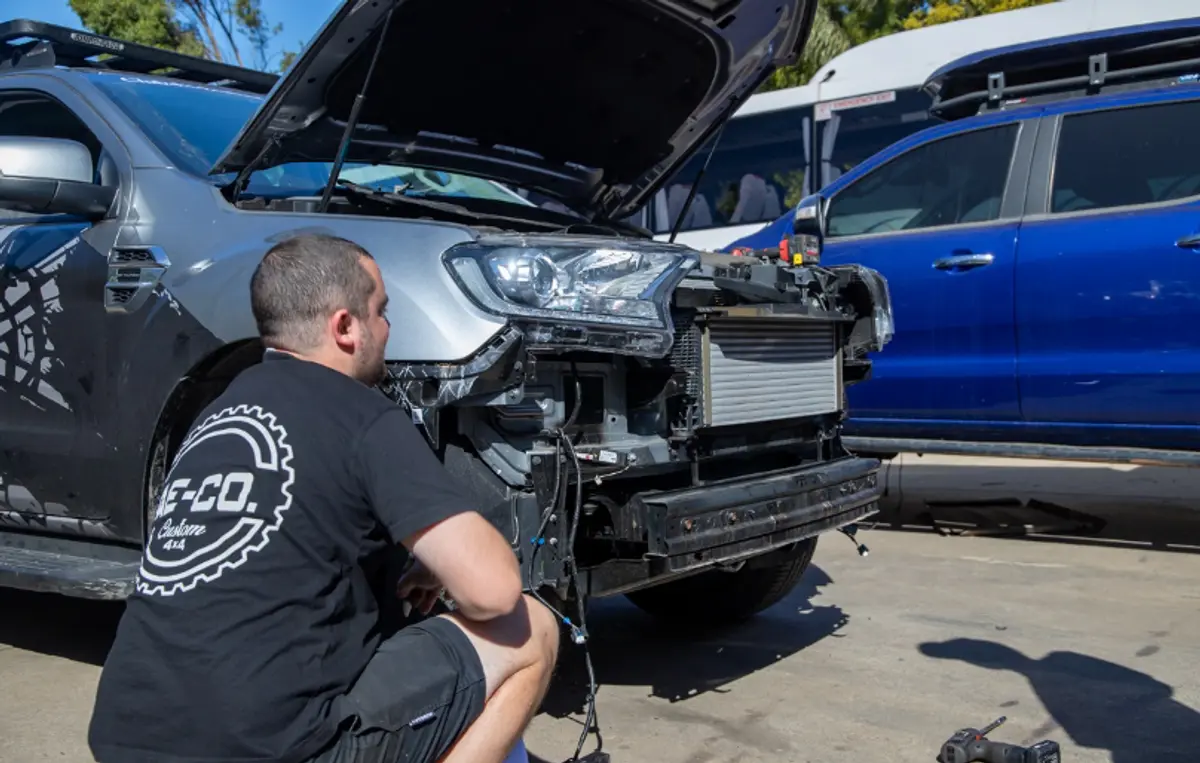
Last week, we dropped the Ford Everest off to our mates at AE-CO 4X4 in Riverstone NSW, to have an Opposite Lock Bullbar installed. I stayed for the install, and I have to say that it was much more complicated than I had expected, and required quite a bit more work than I had anticipated.
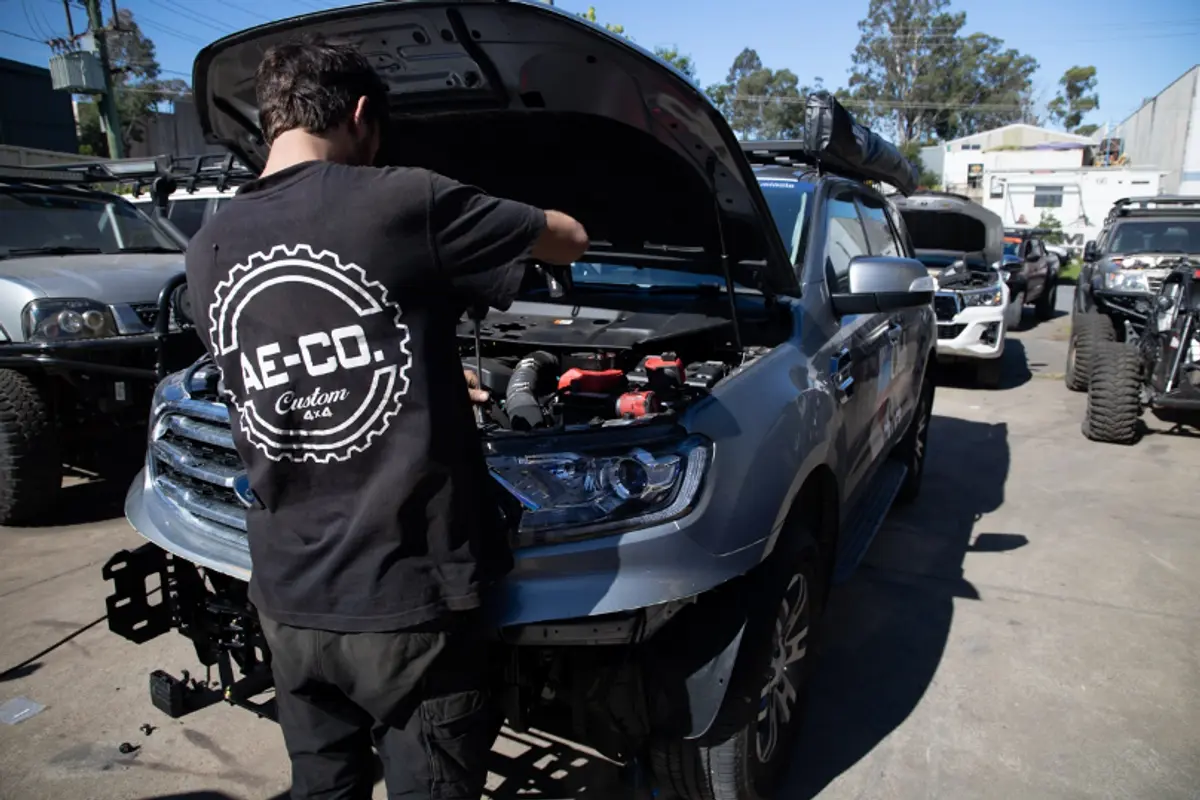
The guys from AE-CO 4X4 working on the Everest
AE-CO 4X4
AE-CO 4X4 are a one stop shop for 4X4’s. They specialise in fabrication, diesel tuning, are an accredited Second Stage Manufacturer (in fact they just got accredited to fit Superior Engineering products), and they are a TJM outlet too.
The great thing about these guys is that while they obviously recommend the TJM gear, their priority is getting the best outcome for each customer, so they actually work with a much wider range of suppliers than you’d first think, and they’ll work with you on getting the best outcome for your vehicle.
Bullbar
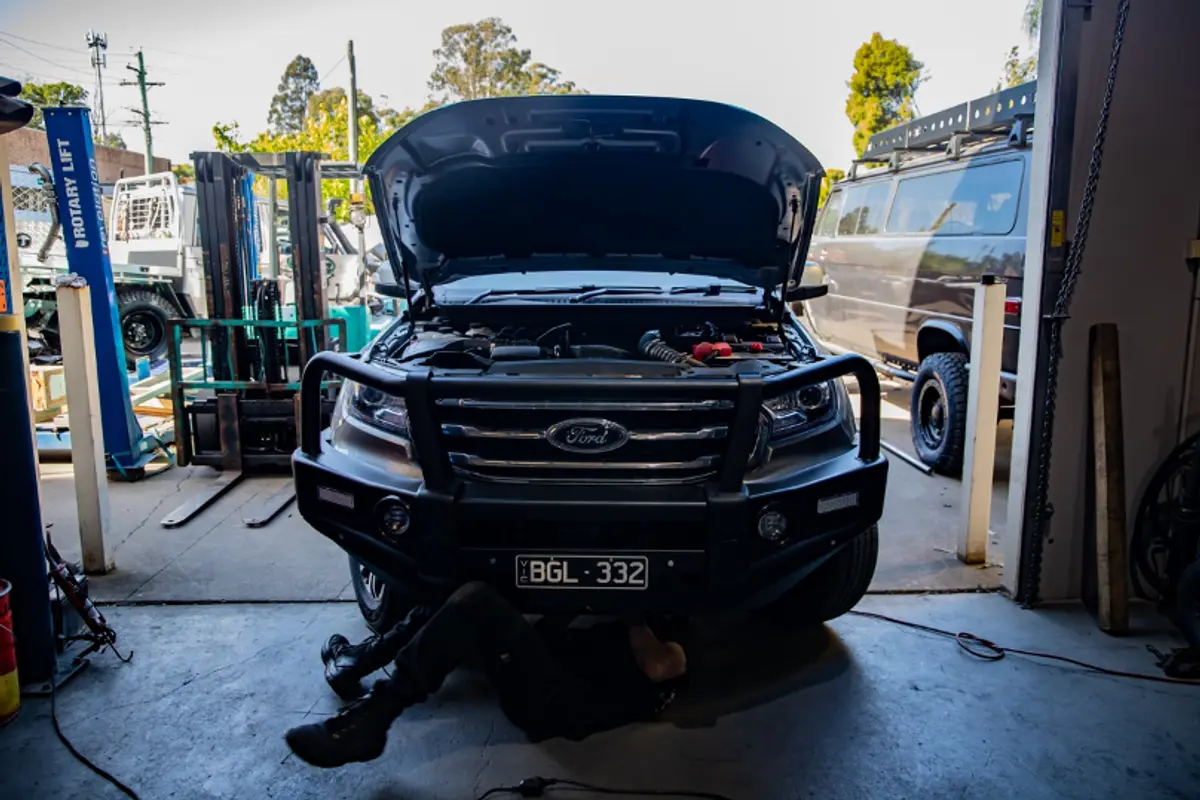
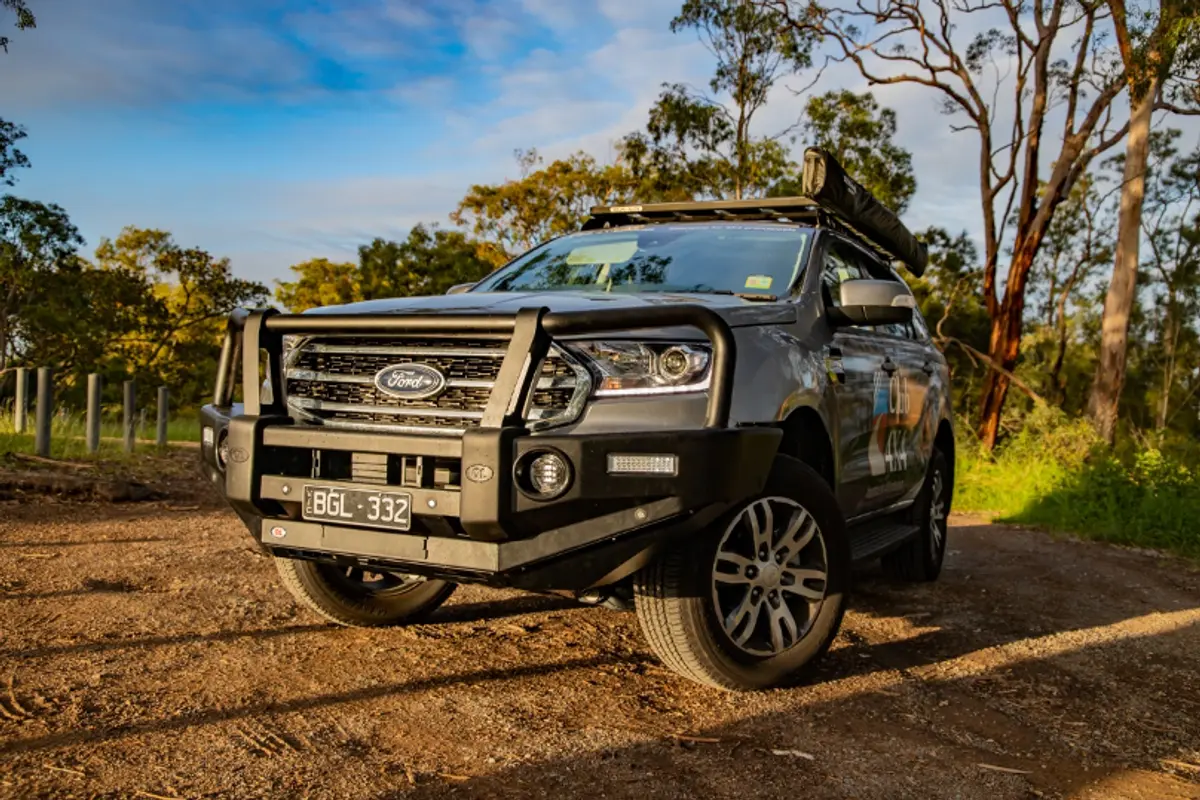
The bulbar we chose was the Post-type premium bulbar from Opposite Lock, in black. It is a traditional style bulbar, perfect for a tourer. It has space for a winch to be fitted, works with the technology on the Everest (anti-colllision/adaptive cruise control radar and parking sensors), and the bar work is quite chunky – which looks great.
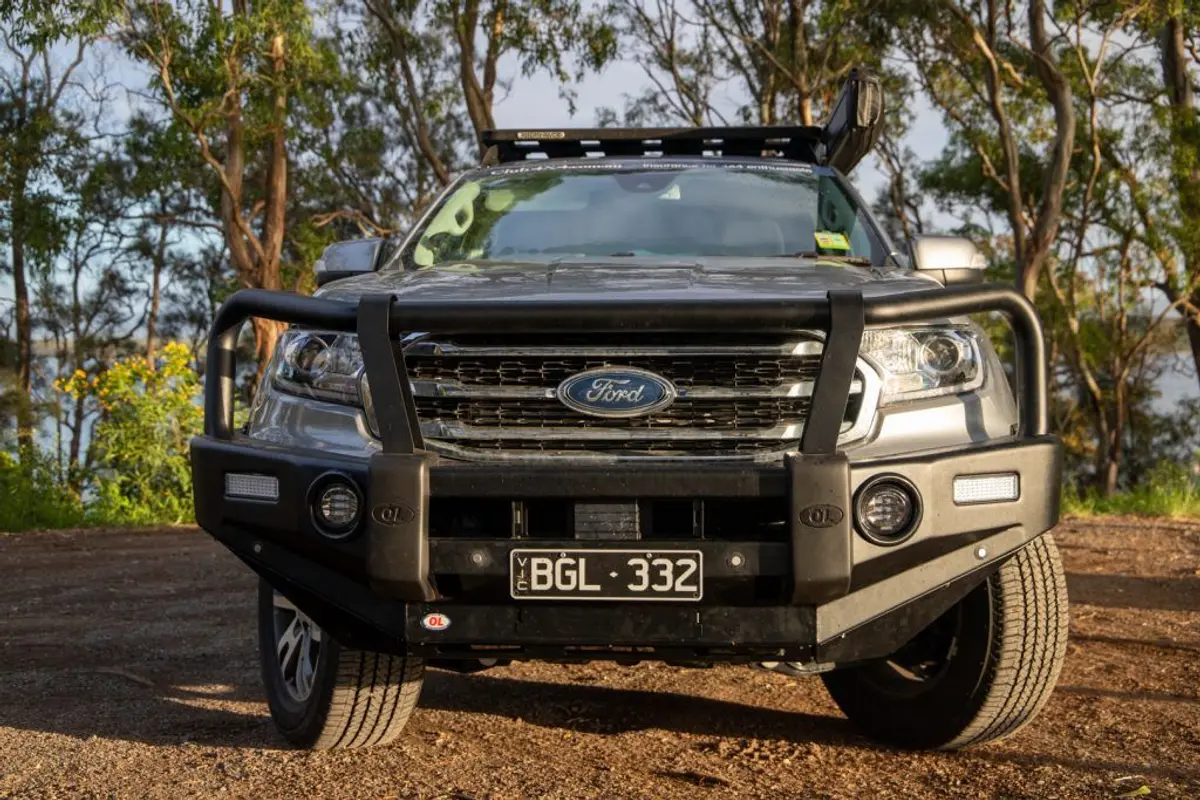
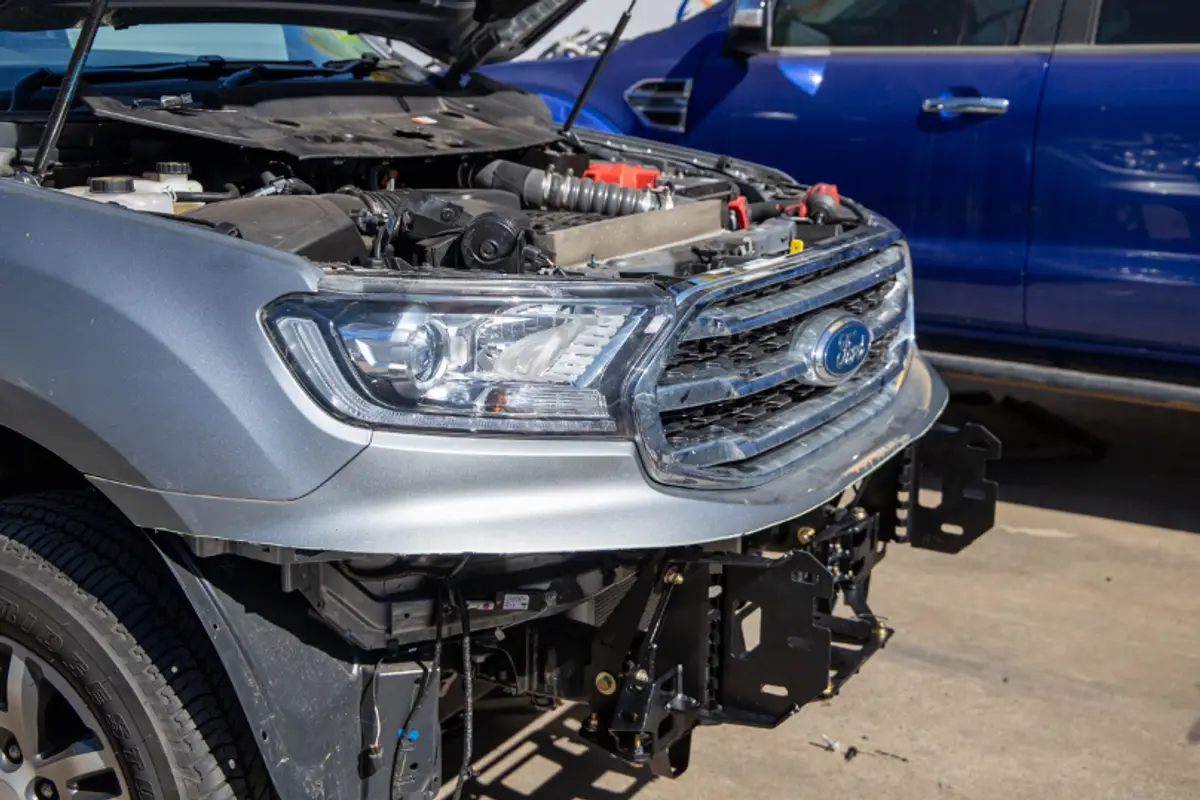
You can see the air dam just above the number plate which ensures airflow to the Radiator and intercooler. You can also see the OEM parking sensors re-mounted into the bullbar, fog lights, and indicators/parkers in the bar too. That thing in the centre above the bullbar is the Radar for the tech pack.
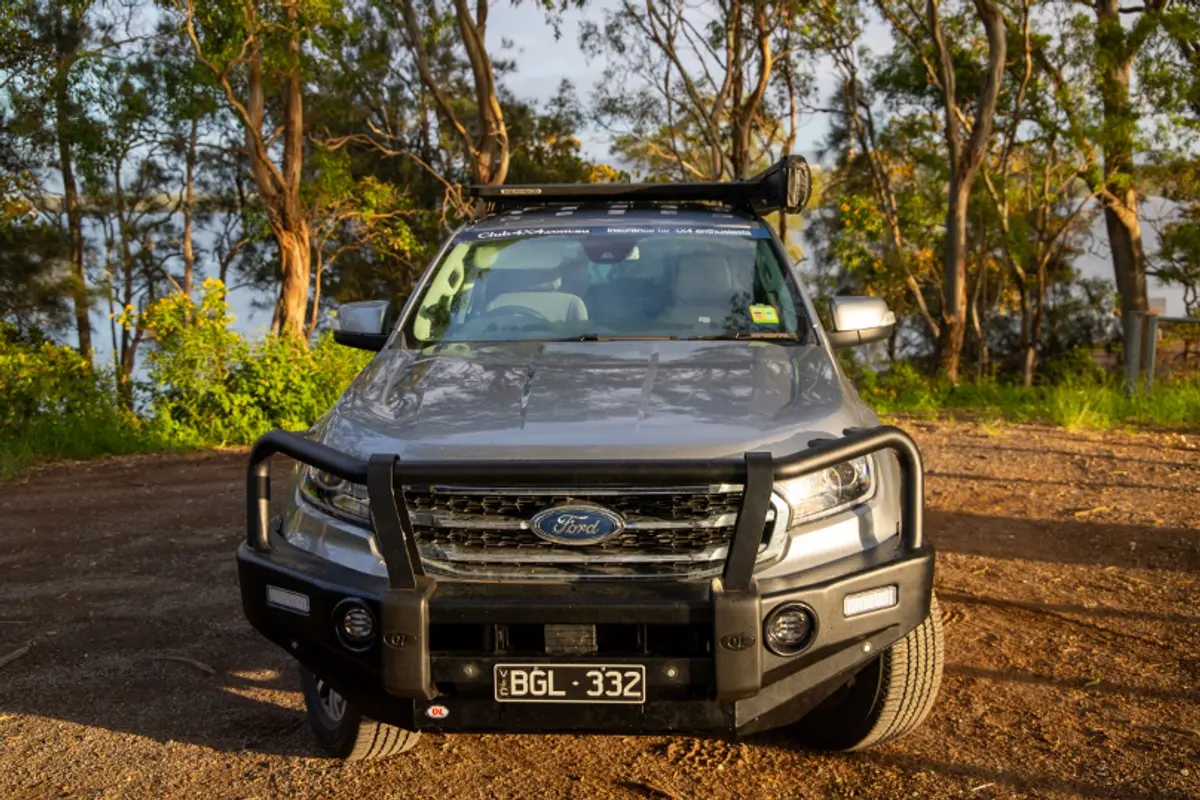
It has an air dam to ensure airflow to the radiator, and 3 mounting points for Aerials, which are conveniently located to the edge of the bulbar rather than the centre, which is great for visibility.
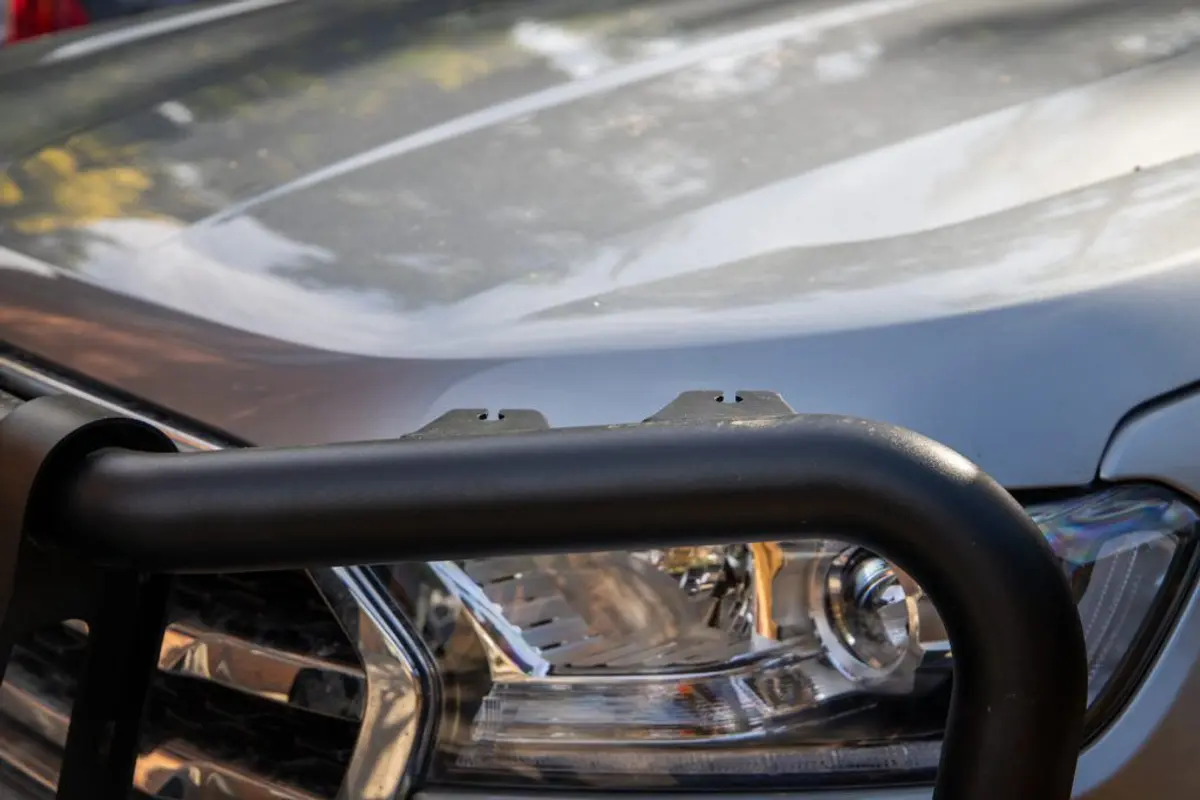
There are two aerial mounting points on the left of the Bullbar, and one on the right, making three total. Well considered placement so they don’t obscure vision driving…
The other thing that I personally like about the bulbar is that it doesn’t obscure or limit visibility from the drivers seat, with the bulbar just visible rather than imposing above the bonnet of the vehicle.
Install
Given a full-size bulbar is much more than a bumper replacement, I had expected some cutting and removing of the bumper, but the truth is that installing a bullbar like this is a lot more work. I’ll summarise the key steps below:
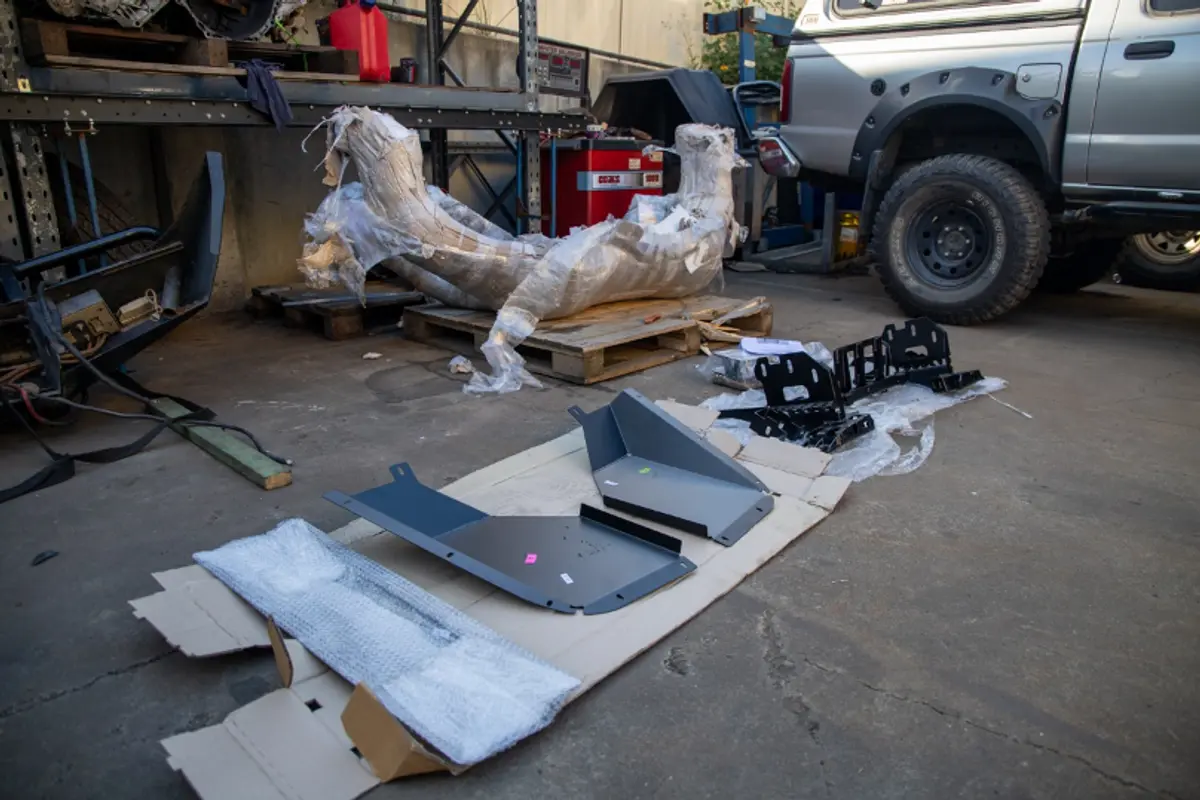
The Bullbar (background), and parts, including mounting frame and bash plates.
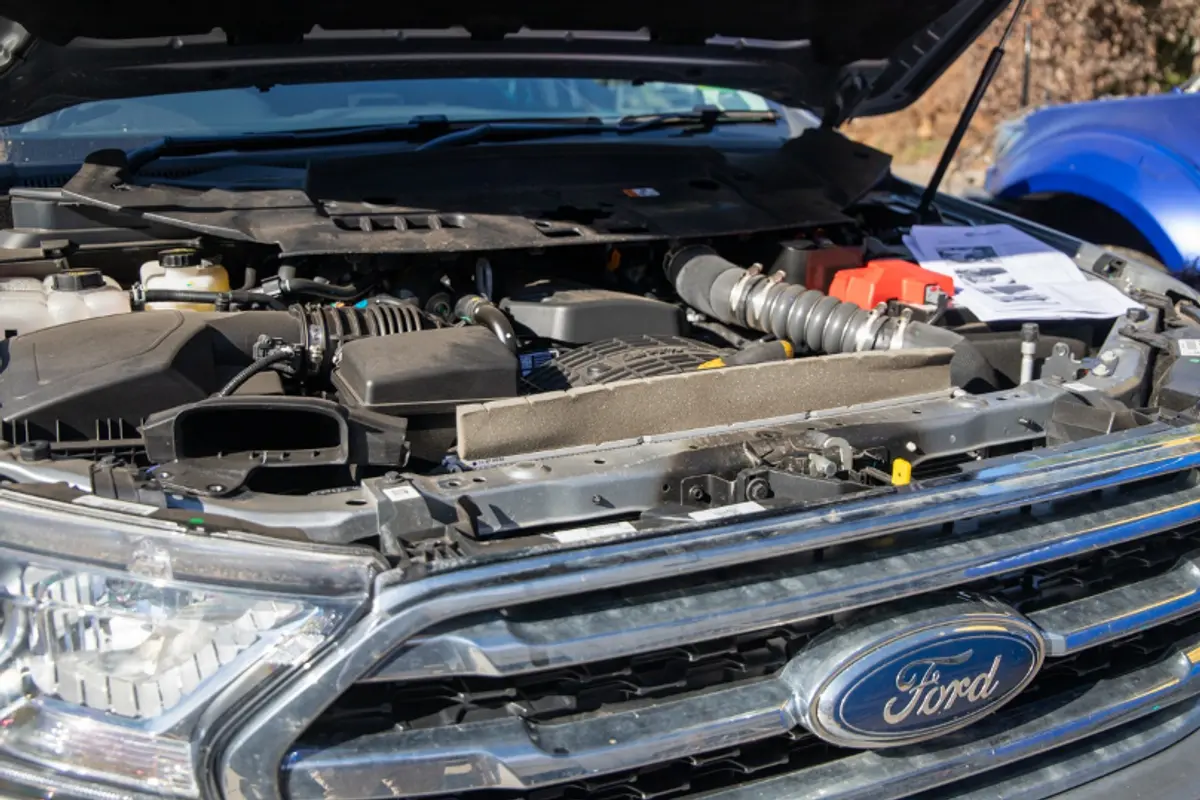
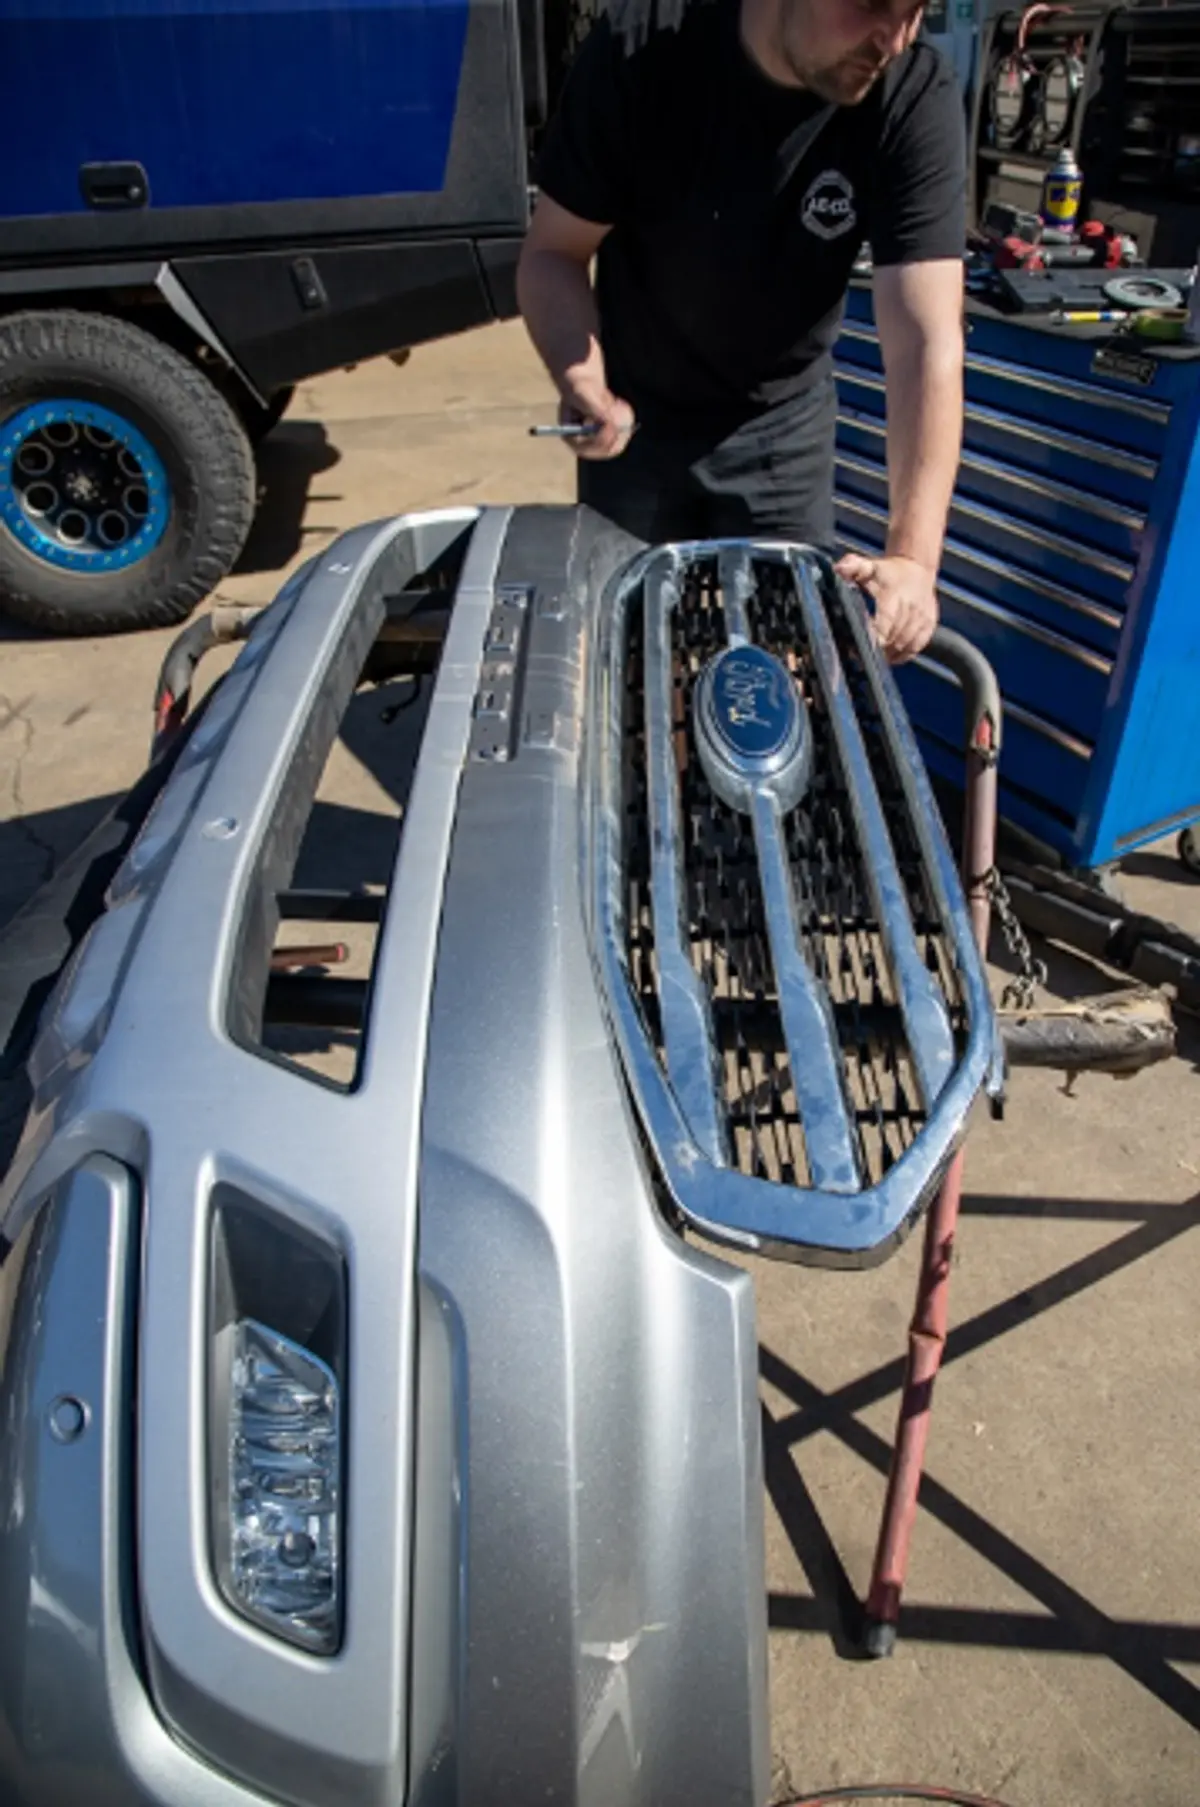
1. Remove front grille and bumper. This involves removing the radiator cover from the front of the Everest, and associated shroud, then unscrewing the grille. It also required detaching the front guards from the bumper, removing an FM antenna from the front guard, unscrewing and removing the factory bash plate, removing bumper fixings, and then disconnecting the radar, the parking sensors, and the driving lights from the vehicle before the bumper and grille could be removed by themselves. It sounds easy, but it was a surprising amount of work.
Starting to remove the plastic shrouds to be able to remove the grille

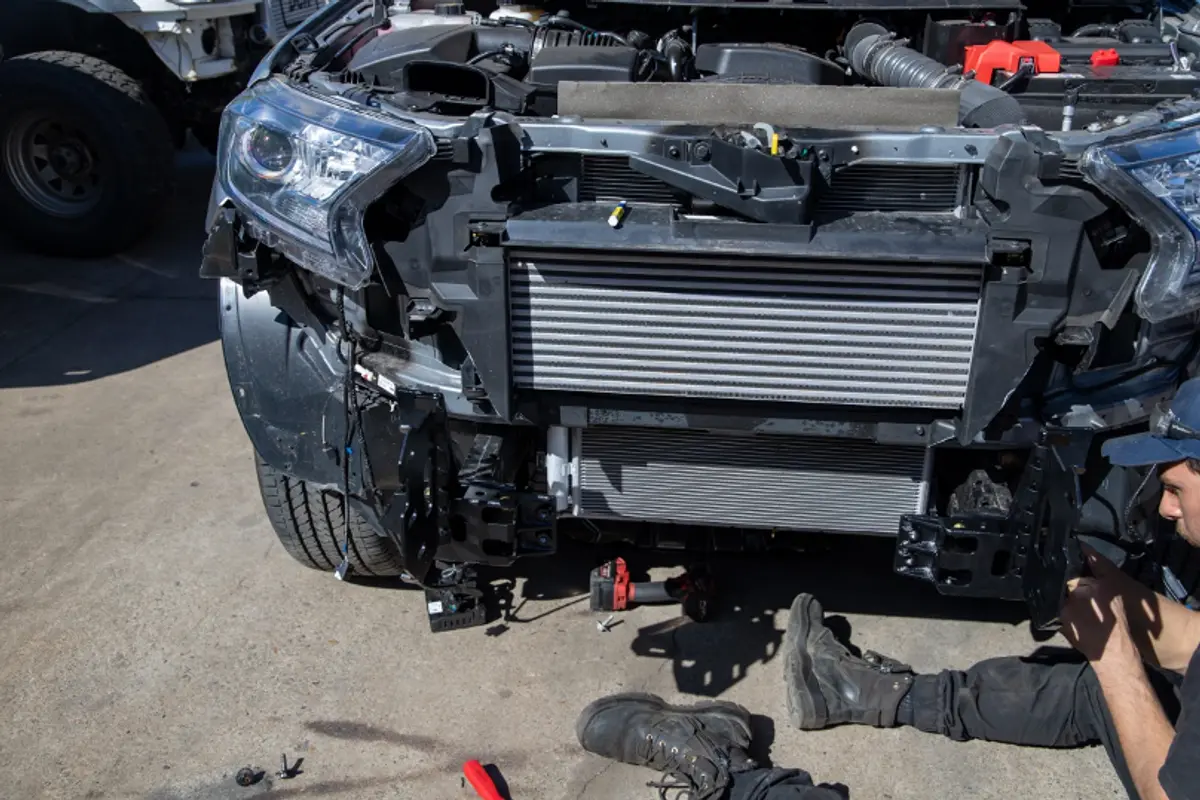
Working to remove the bumper mount to get to the chassis rails
2. Cutting and or removing a range of plastic from behind the bumper. This step required the careful cutting of plastic around the intercooler, removal of the bar that the bumper mounts onto in order to expose the chassis rails, and relocation of the ambient air temp sensor. It was really surprising what actually came off the vehicle.
Marking plastic for removal or cutting
3. Cutting the bumper down, and the surrounds. This involved marking the bumper and surrounding areas as directed, and then trimming so that the bar would fit. Something you need to be careful with, and that would prove expensive if you get it wrong.
marking the bumper for cutting
The Bumper back on after cutting
starting to build the mounts
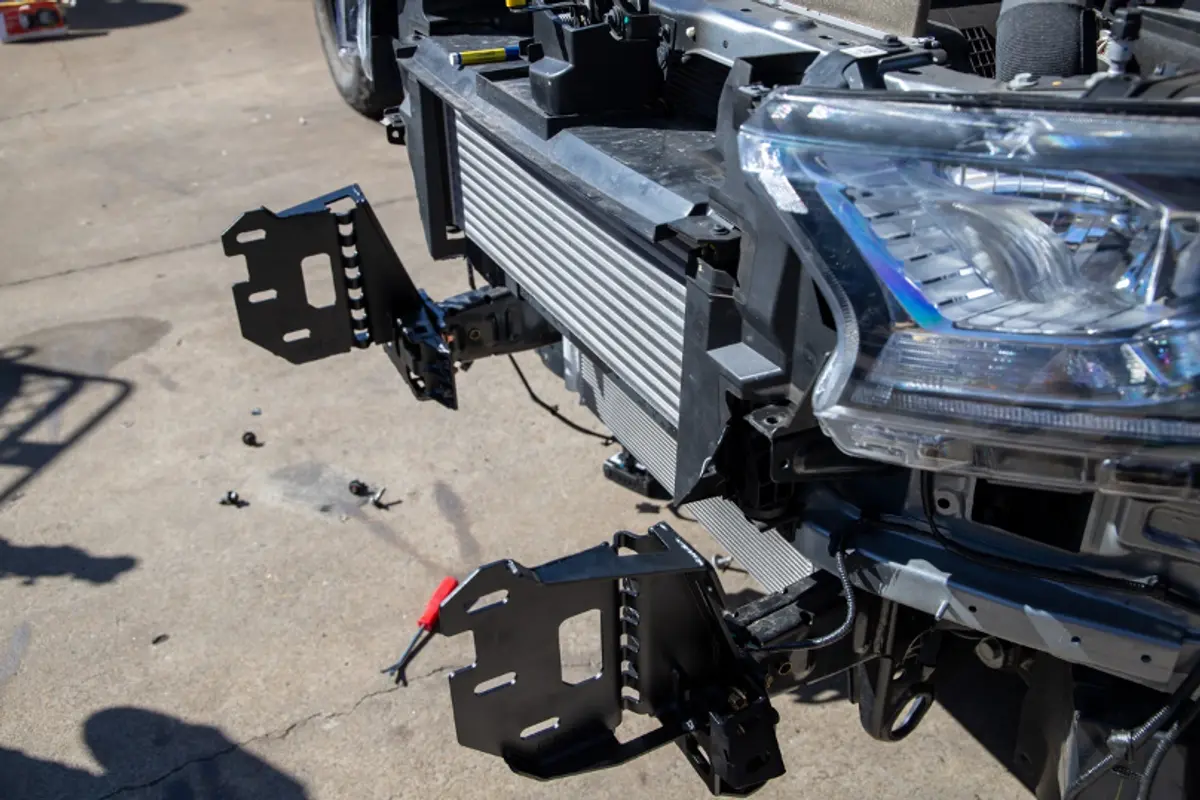
Bullbar mounting points almost complete
4. Building and attaching the bullbar mount. This involves building the bullbar mount out, and starts with attaching parts to the now exposed Chassis rails, before building the mounts off them. It took a while because of the number of small parts involved.
5. Unwrapping the new bullbar. This is listed as a step in itself because of the amount of wrapping on the bullbar. It took about 20 minutes to expose the bullbar by itself.
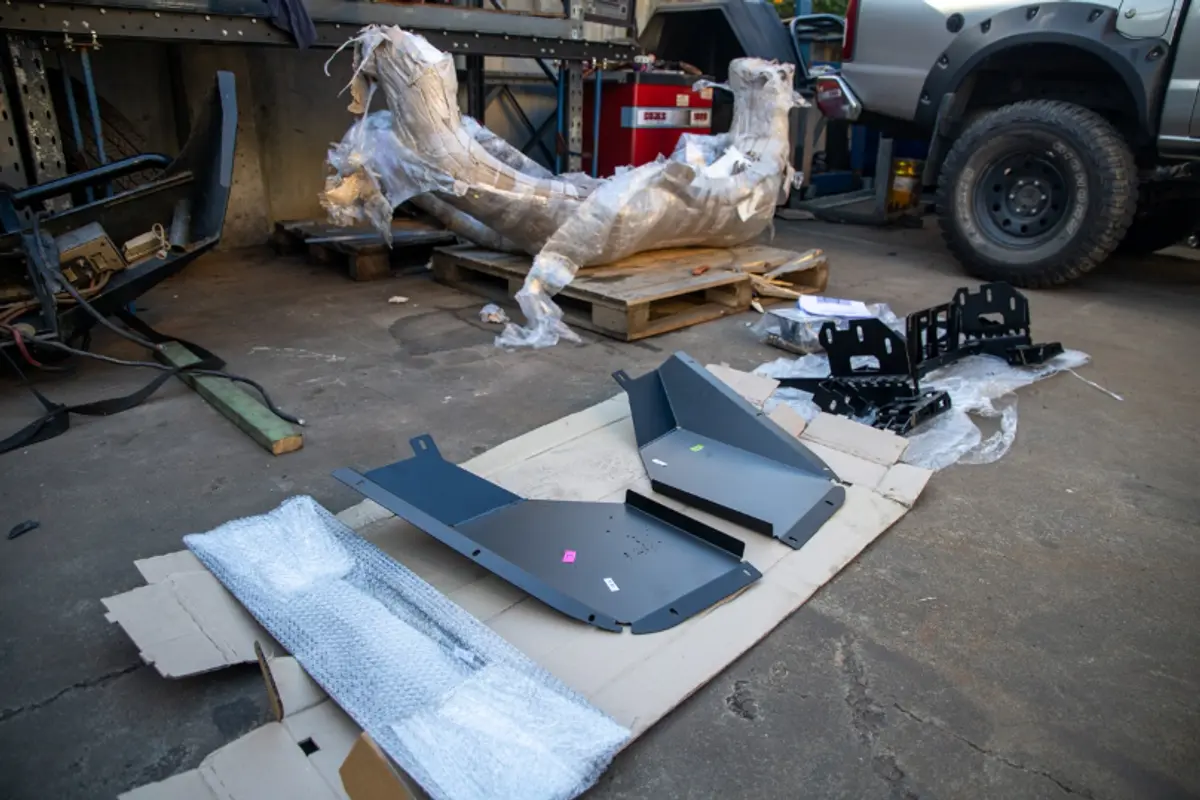
The bullbar was well wrapped!
6. Attaching the parking sensors and radar to the new bullbar. This involved some drilling of spacers, and then fitting the 4 sensors into the bullbar before using the existing loom to connect them up. Additionally, the radar needed to be mounted to the bullbar too, which involved a bit of fiddling.
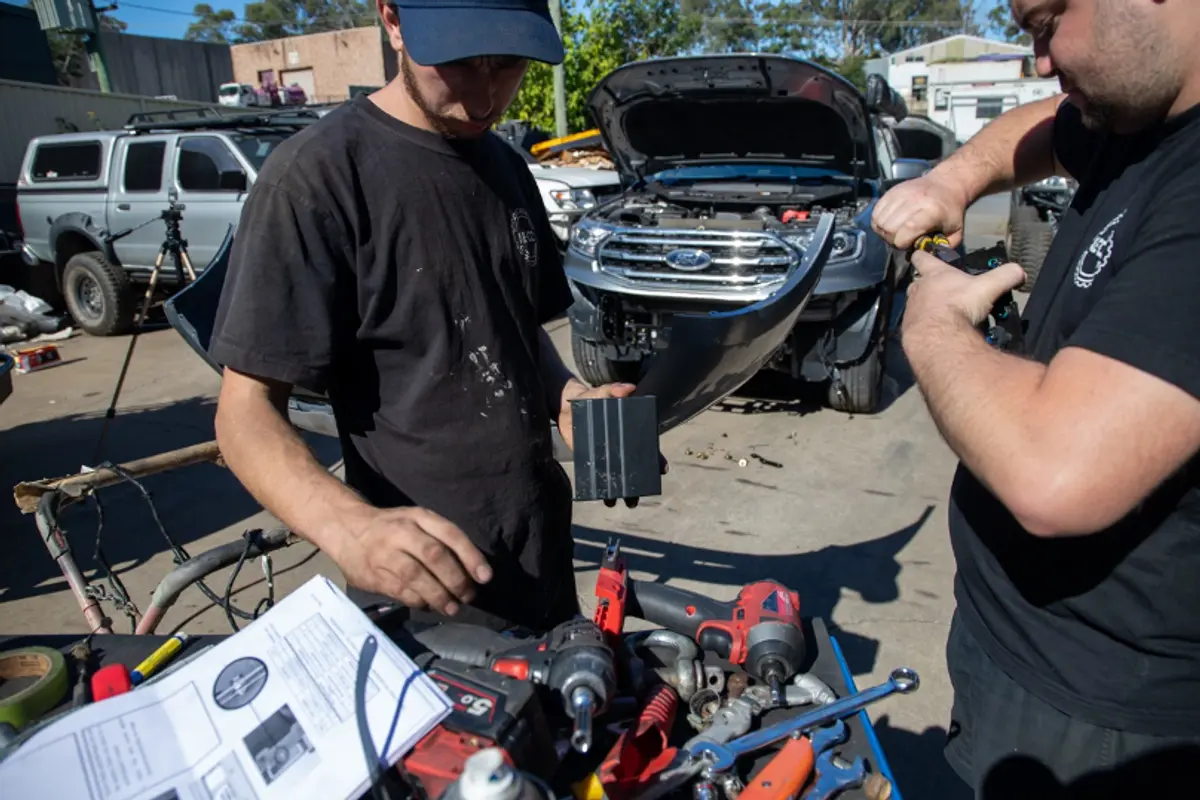
Removing the mounting place from the tech pack radar so it can be mounted into the Bullbar
7. Attaching the in-bullbar fog lights. The setup came with new fog lights, but these needed to be fitted, and in expected fashion, the fittings don’t match OEM. Fog light inserts also had to be removed from the bullbar, and the fog lights attached.
8. Fitting of the bullbar. This was where the bullbar was attached to the new mounting plate. But of course, it was more complex than that. Once on, adjustments needed to be made to the height of the bar, and its position left or right to ensure that it was fitted correctly.
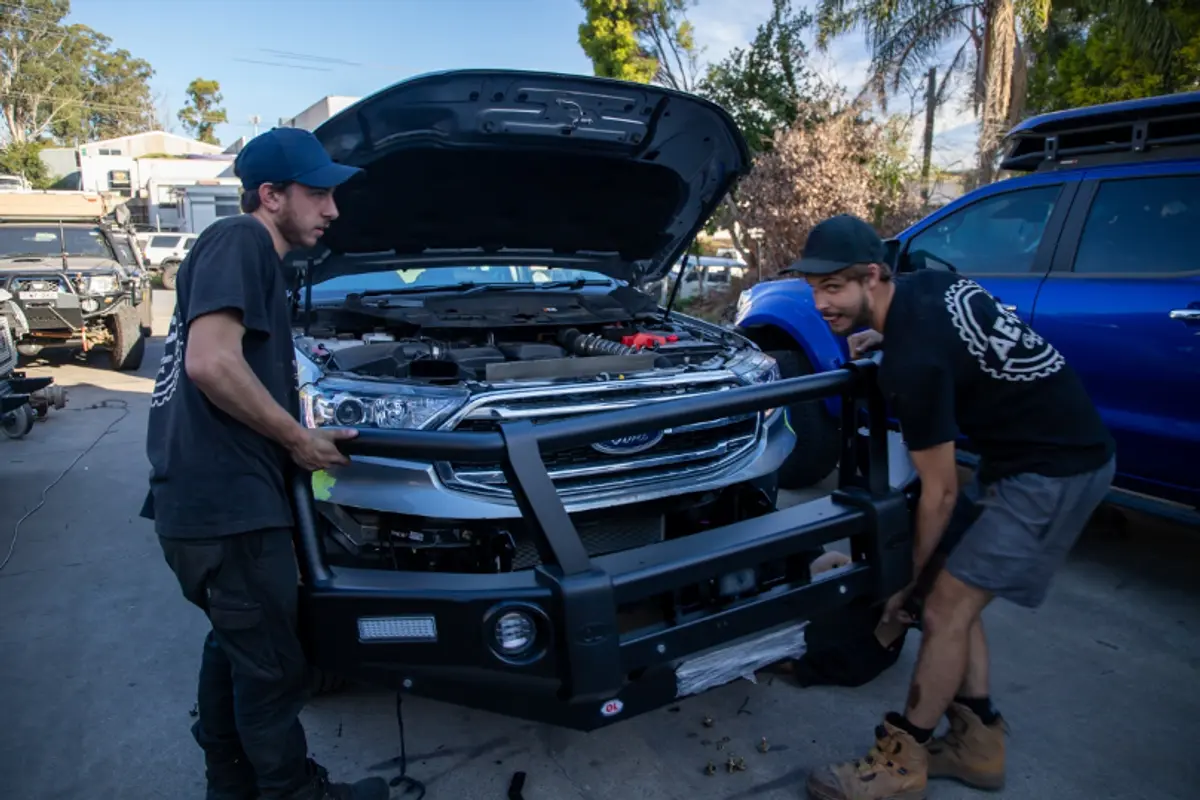
The bullbar finally going on!
9. Re-connecting the radar pack, parking sensors, and fog lights.
working on reconnecting the tech pack and fog lights
10. Wiring up of new indicator lights. The bullbar came with new indicators/parking lights. Given there was no existing loom in the bumper (because it didn’t have indicators in the bumper), these had to be spliced into the existing loom. To make matters more challenging, the loom supplied with the indicators wasn’t really up to the task long term, so the guys at AE-CO had to spend more time than anticipated wiring the lights up and ensuring they worked.
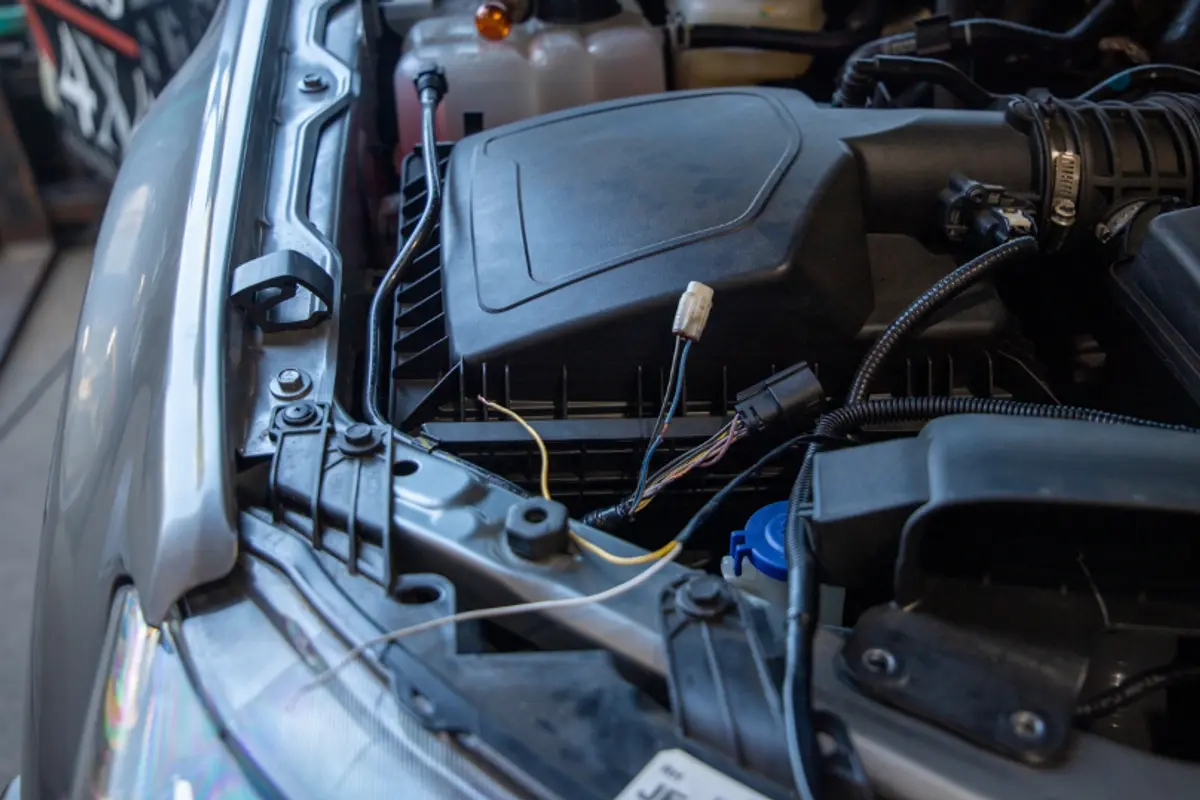
Wiring up the new parking/indicator lights. The loom that came with the indicators wasn’t fit for our purposes, so the guys at AE-CO wired it up themselves.
11. Install of new bashplates. Not too difficult, but again took some time, despite the guys having all the gear. Care needed to be taken to ensure all screws fitted, and plates were loosely tightened to ensure alignment before final tightening.
12. Re-fixing of original bashplate, with modifications. The original bashplate needed to be cut to fit back behind the bullbar to complete underbody protection.
I had expected the install to be much simpler to be honest – in my head it was remove and cut bumper, fit new bullbar, and re-connect wiring. In reality, it was a far cry from that.
Time taken
It would have been a full days work to install the bullbar and re-wire the looms properly. And this is guys that know their stuff (although hadn’t fitted an Opposite Lock Bullbar before. If attempting it yourself, I’d allow a full weekend.
Should you attempt it?
The cutting of the bumpers is probably the hardest bit, and the instructions (like all things) are not quite as detailed as they really should be, which leaves them open to a it of interpretation. If you are handy with a grinder, and some 12V wiring, then I’d say go for it, but measure twice or 3 times, cut once because if you get the cut wrong, then it is an expensive mistake replacing the bumper!
The Result
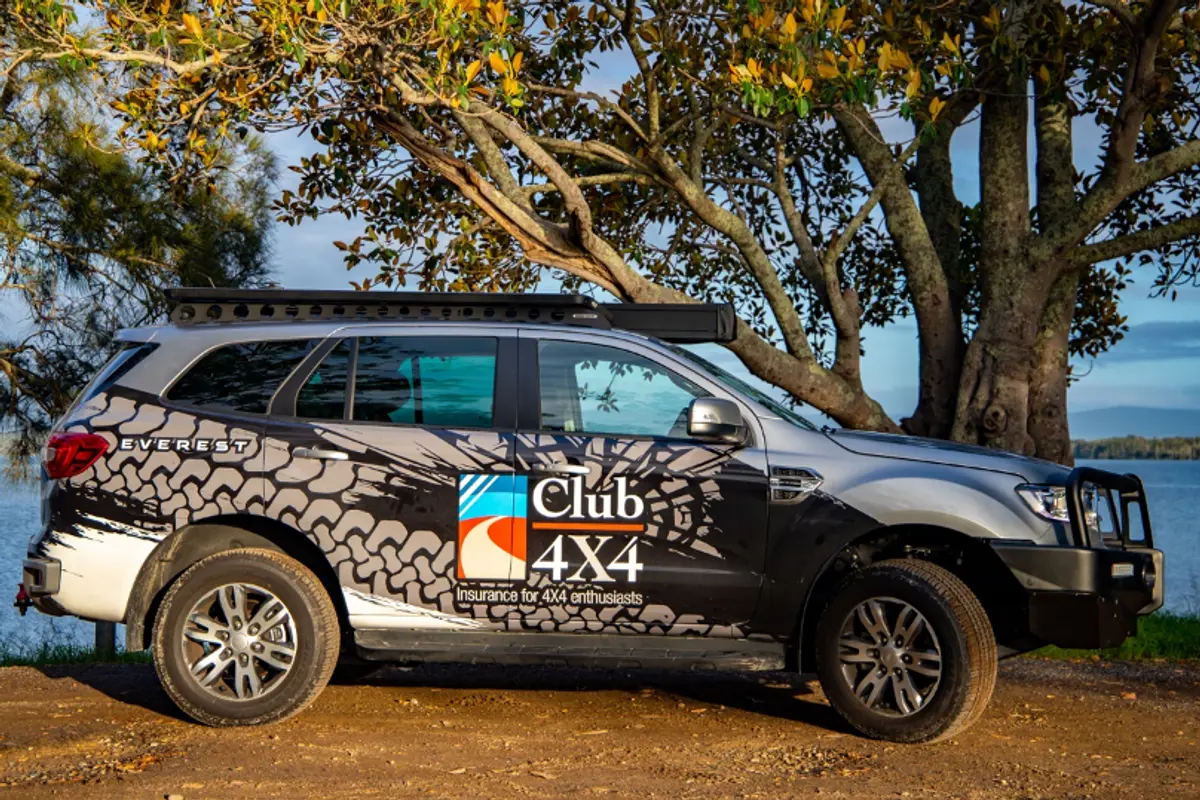
It is a smart looking bullbar, with a nice thick tube too.
The cost
RRP: from $1899.00
Install: plan for 6 -8hrs.
What’s next?
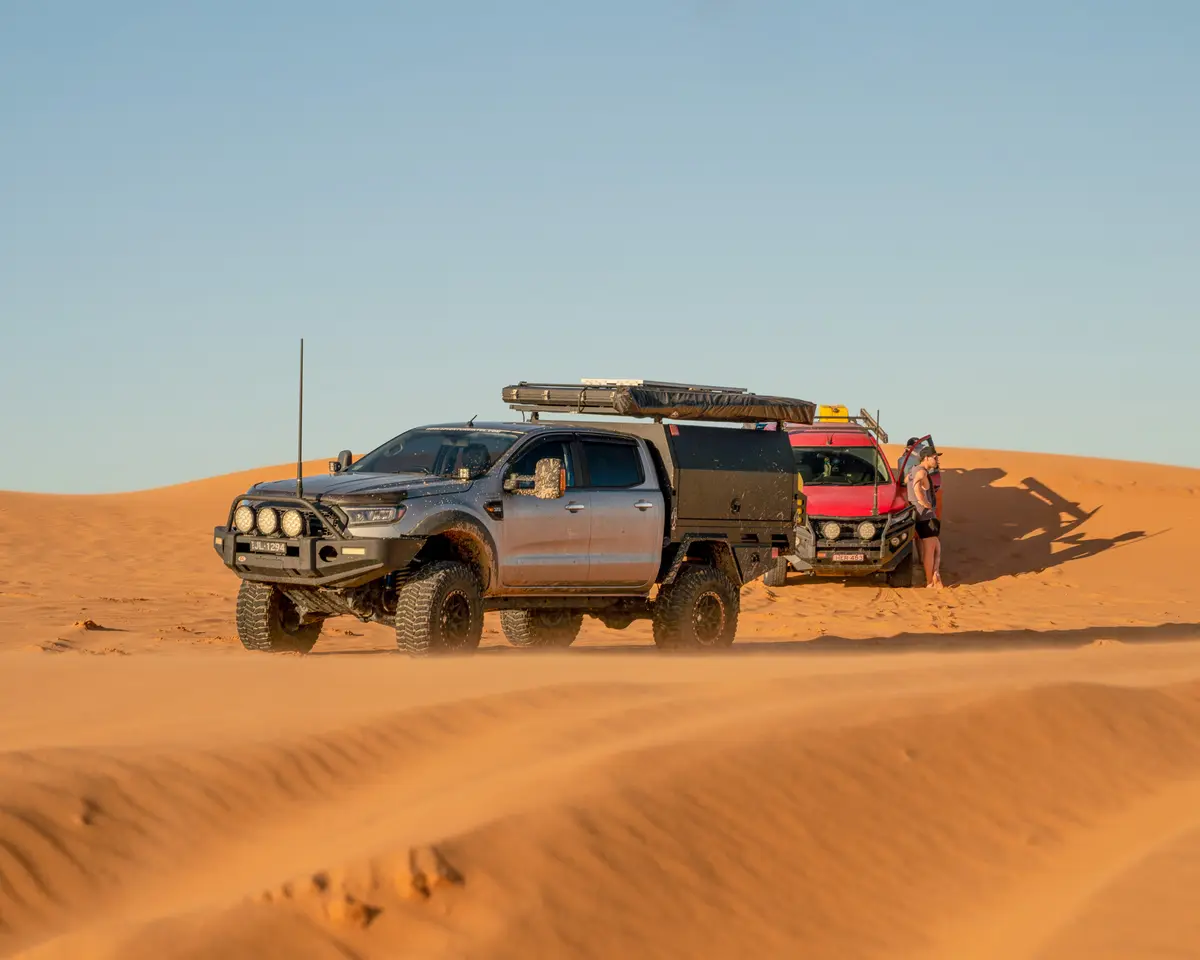
From here, we’re looking at a dual battery system, driving lights, CB radio, Cel-fi repeater for reception out on the road, a 50mm suspension lift, and then wheels and tyres. We’ll keep sharing details of the build as it progresses.
Aiden